
10 More Tips to Improve Your Landscape Photography
Last week I shared 10 Tips to Improve Your Landscape Photography. I hope it gave you a little inspiration to remember next time you head out to shoot! Today I am sharing 10 MORE tips, plus a bonus tip :)
1. Get out often & early - The more you get out to shoot and practice all of the techniques, the more they will become second nature and your workflow will become fluid. Landscape photography has a variety of creative and technical practices that take frequent practice to become second nature. Getting to your location early allows you to take your time in finding your chosen composition and prevents you from feeling rushed as the light changes.

Sunrise in Oahu, Hawaii
2. Know How to Read Your Histogram - Understanding your histogram and how to adjust settings for the best exposure is so critical to capturing the details throughout the dynamic range. My goal is always to capture detail from the bright highlights to the dark shadows. I aim for my histogram to be as far to the right side as possible without it climbing the right wall.
3. Use a shutter release - A shutter remote is one piece of gear I always have with me. When I use a tripod I always use a shutter release. This will enhance the sharpness of your images and is also useful for shooting long exposures and time lapses.

1.3 seconds of wave action at sunrise in Oahu, Hawaii
4. Invest in good filters - Learn about the various types of filters from polarizers, graduated neutral density filters and regular neutral density filters, and invest in good ones. Polarizers help to cut glare and haze and enhance the vibrance of skies. Graduated neutral density filters cut light in part of the frame to allow you to capture more detailing the shadows without blowing out the highlights. And regular neutral density filters will block light so you can shoot longer exposures for creative effect.

Long exposure of the clouds and water utilizing a 10 stop Neutral Density Filter at Lake Louise, Alberta, Canada
5. Scout out locations - Taking the time to scout out locations for good light and compositions will help you maximize your shooting opportunities when you go during sunrise and sunset. Sometimes the best light and color lasts only mere minutes so making sure you have scoped out the best perspective ahead of time will help you be more successful.
6. Check your frame - Pay attention to what is IN your frame AND OUT of your frame. Examine the edges and consider everything that you include and leave out. Both can be equally important to the viewer’s scan path.
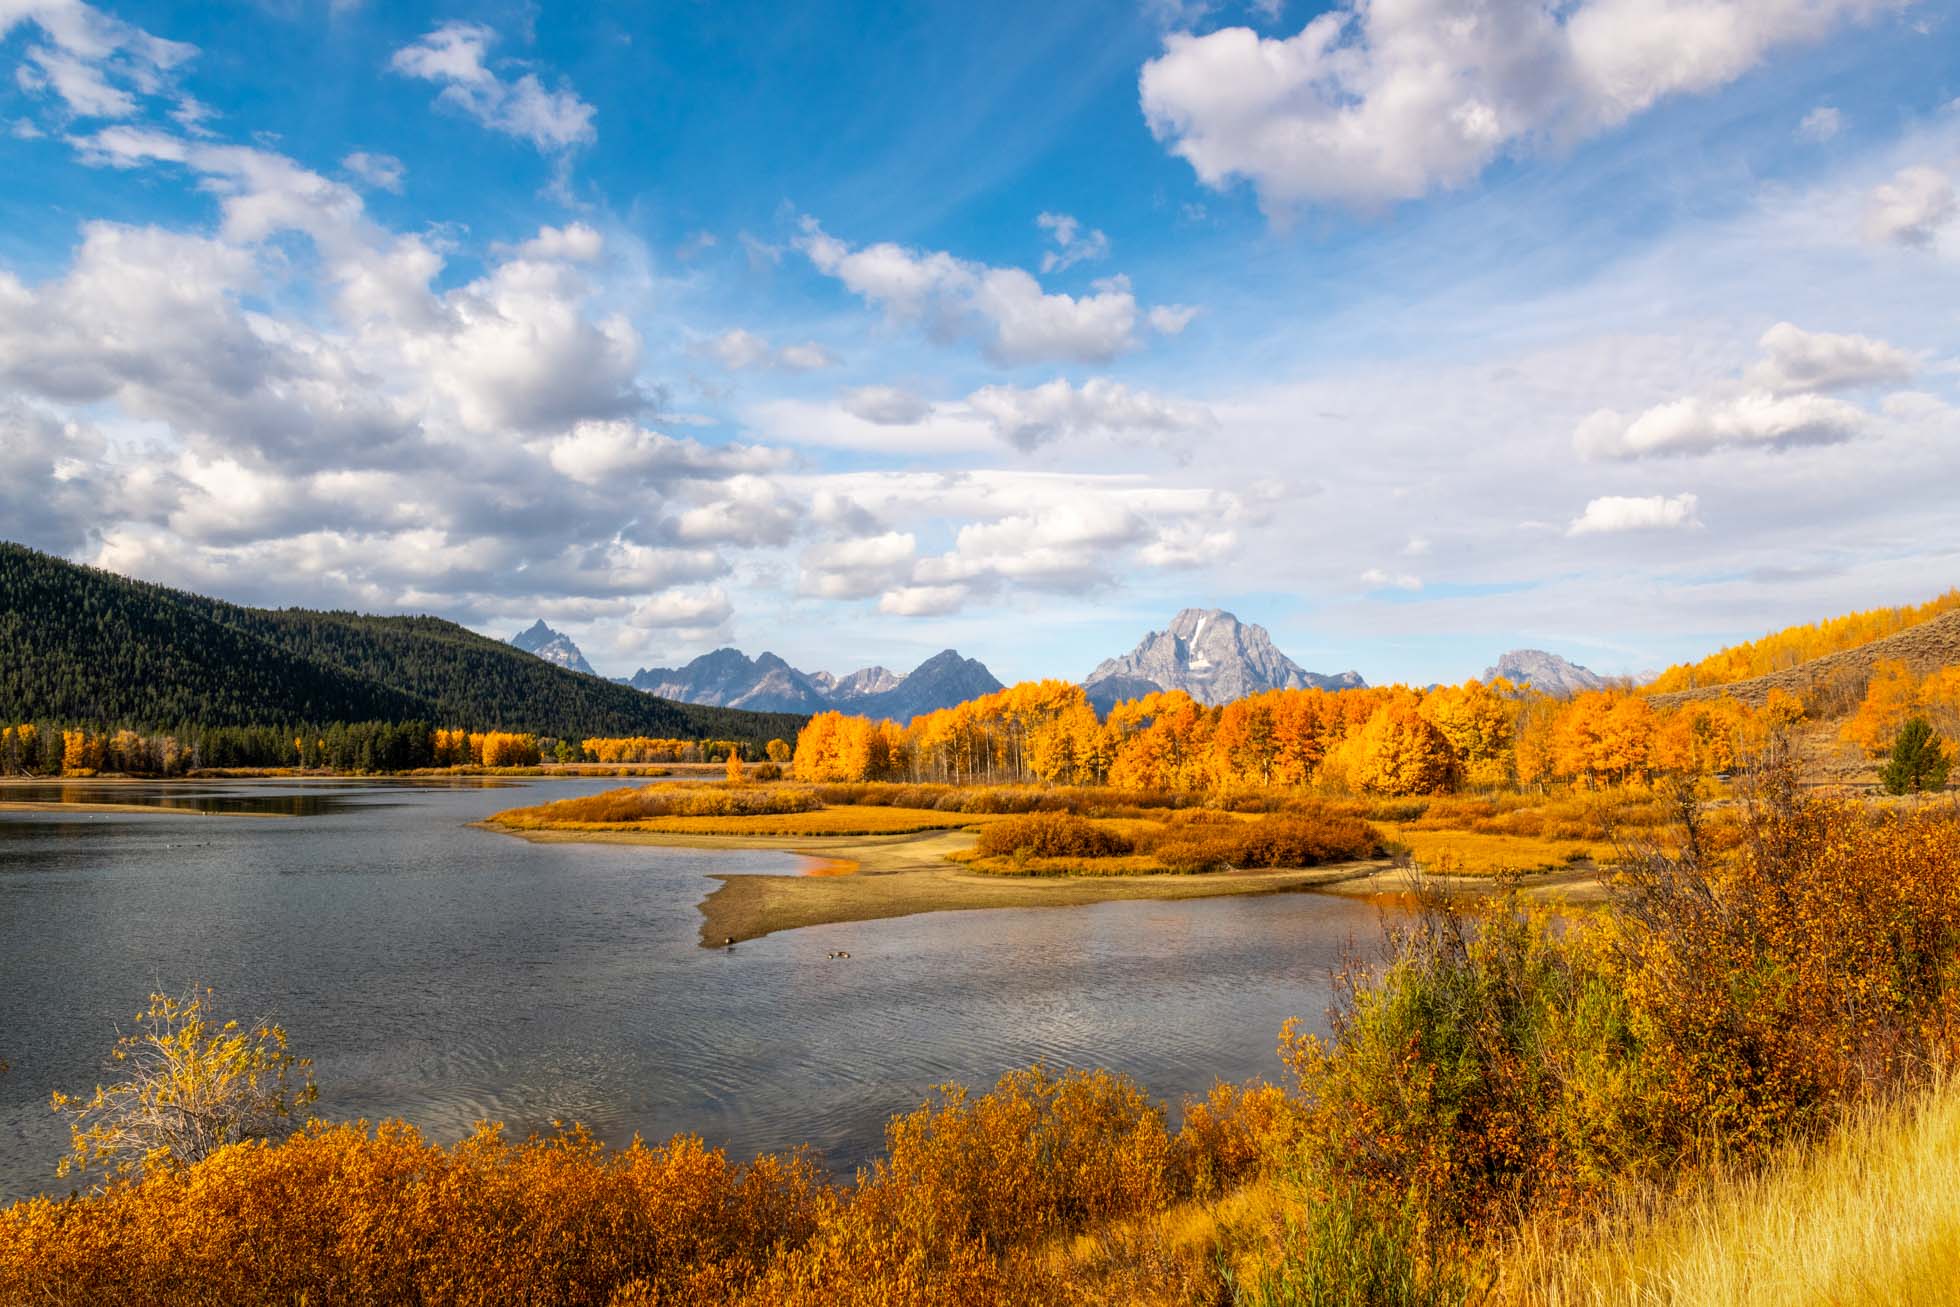
A gorgeous autumn afternoon in Grand Teton National Park
7. Look for leading lines and framing opportunities - Nature has so many lines from trails, shorelines, roads, etc. Use them to lead the viewer’s eye to your main subject. Framing your subject can create depth and impact. I love to look for framing to capture a unique perspective of a frequently photographed location.

Sunrise on a chilly morning on the Chicago Lakefront
8. Less can be more - While many strong landscapes are composed with many elements, sometimes a minimal frame can be just as impactful. Examples of less is more may be an abstract seascape or a simple subject like a tree surrounded by a lot of negative space.

Panning of the Pacific Ocean in Crystal Cove State Park, California
9. Break the rules - There are lots of rules that are rules for a reason, such as using the rule of thirds for composition, not blowing your highlights or clipping your shadows, etc. However, rules are meant to be broken. Know the rules but be willing to break them with intention and creative purpose. For example, not centering your horizon is generally considered a "rule" in landscape photography. But I LOVE a centered horizon

Long Exposure in Grand Teton National Park, Wyoming
10. Maximize foreground interest - Foreground elements are one of the best ways to create depth in your landscape images. Rocks, shells, grasses, flowers, etc. are all great examples of foreground elements. Consider the placement and type of foreground and be intentional. Foreground should add to the frame and lead the eye to the main focal point rather than distract.
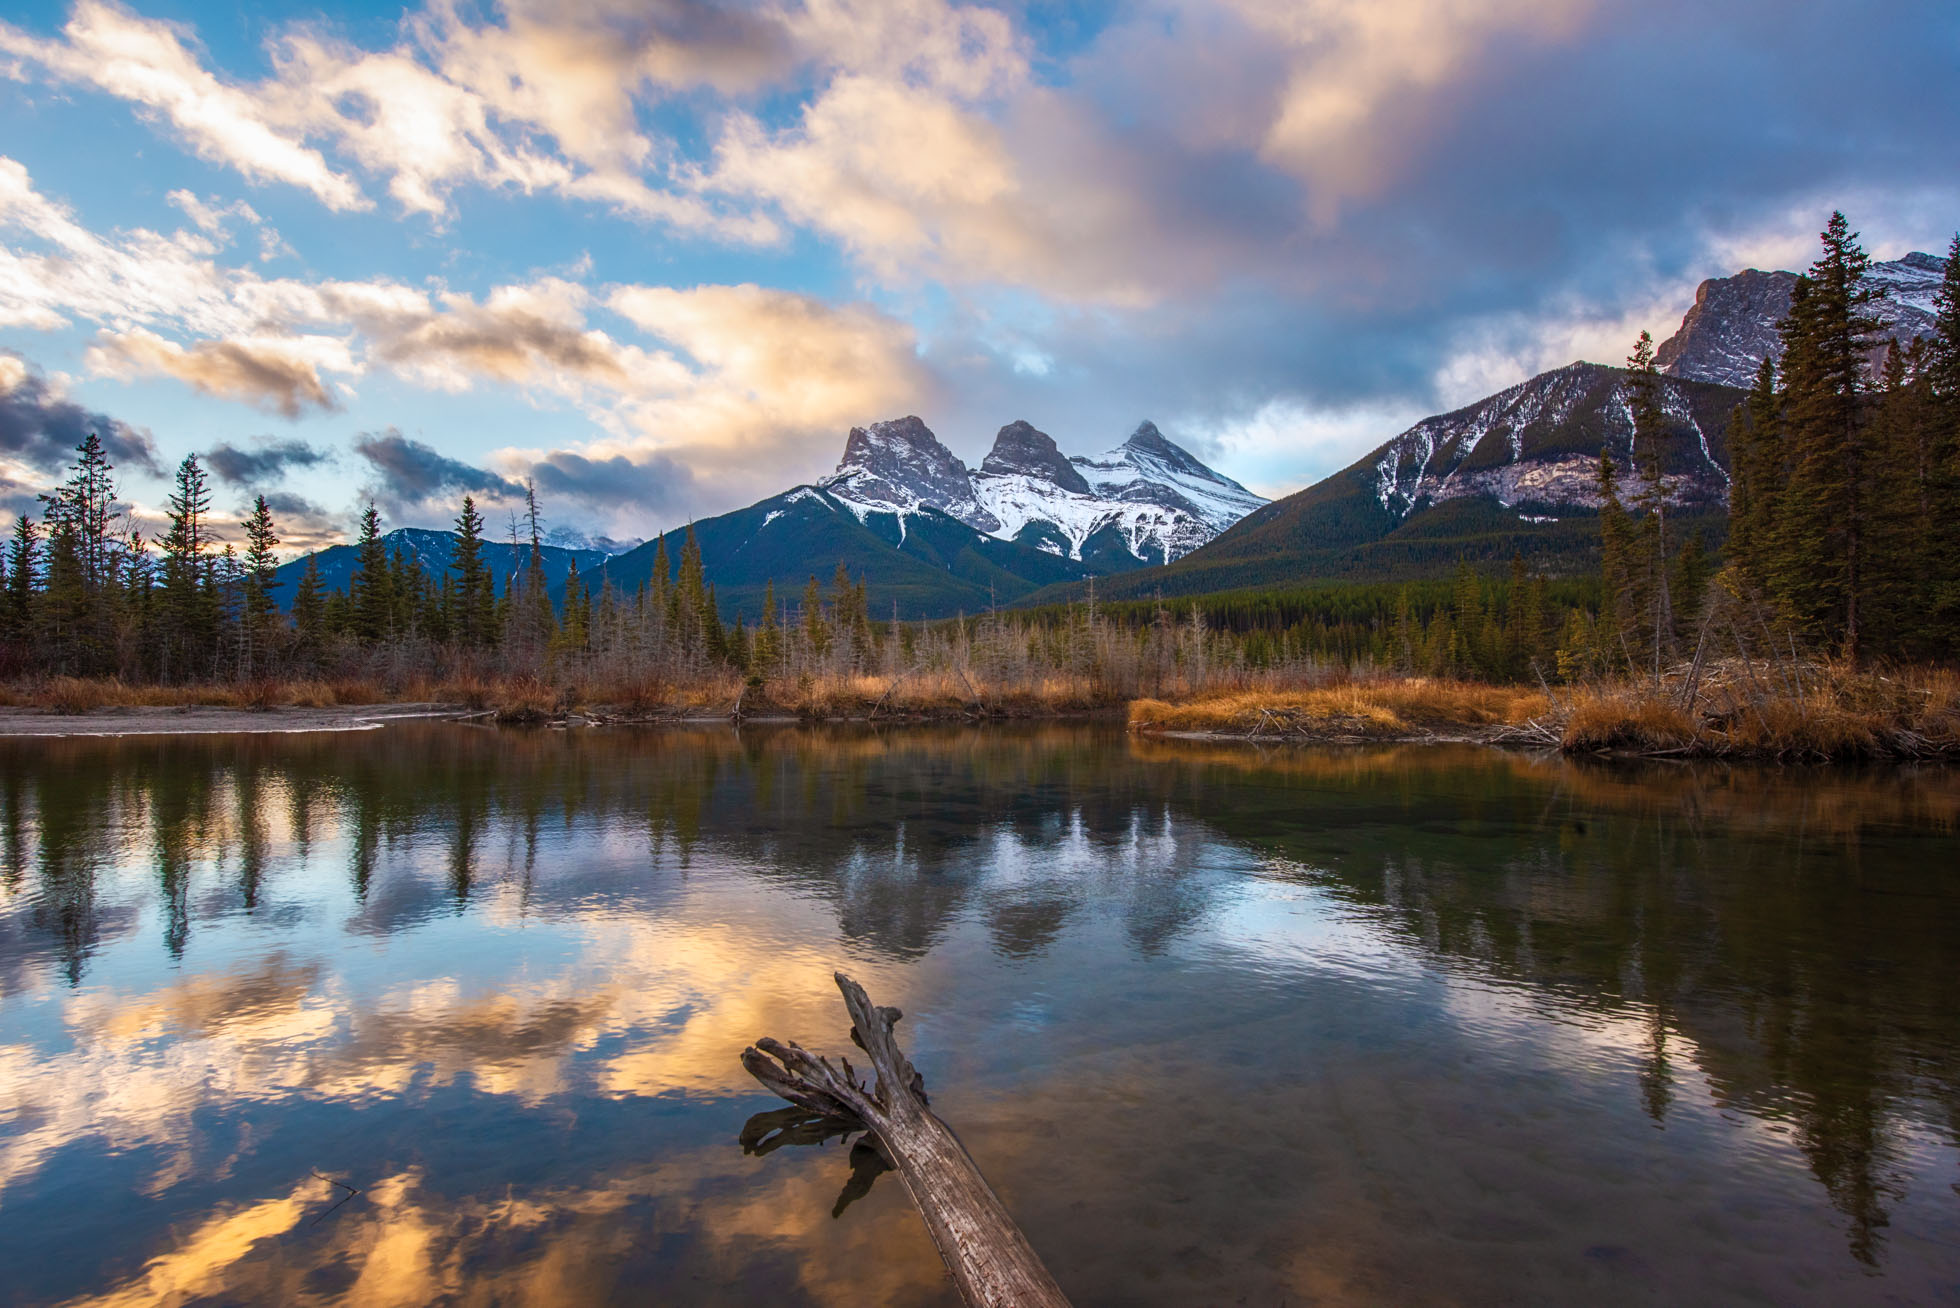
Sunrise at the Three Sisters Reflection Pond in Canmore, Alberta, Canada
BONUS!! #11. Learn from your mistakes & successes -The number one thing that has improved my landscape photography the most is learning from my mistakes and successes while shooting. Every single shoot that I go on, in spending time with my images afterward, I self critique where I made mistakes in exposure, focus and composition. This analysis has helped me to refine my techniques and remember to look for things that I didn’t think to look for when I was first starting out.
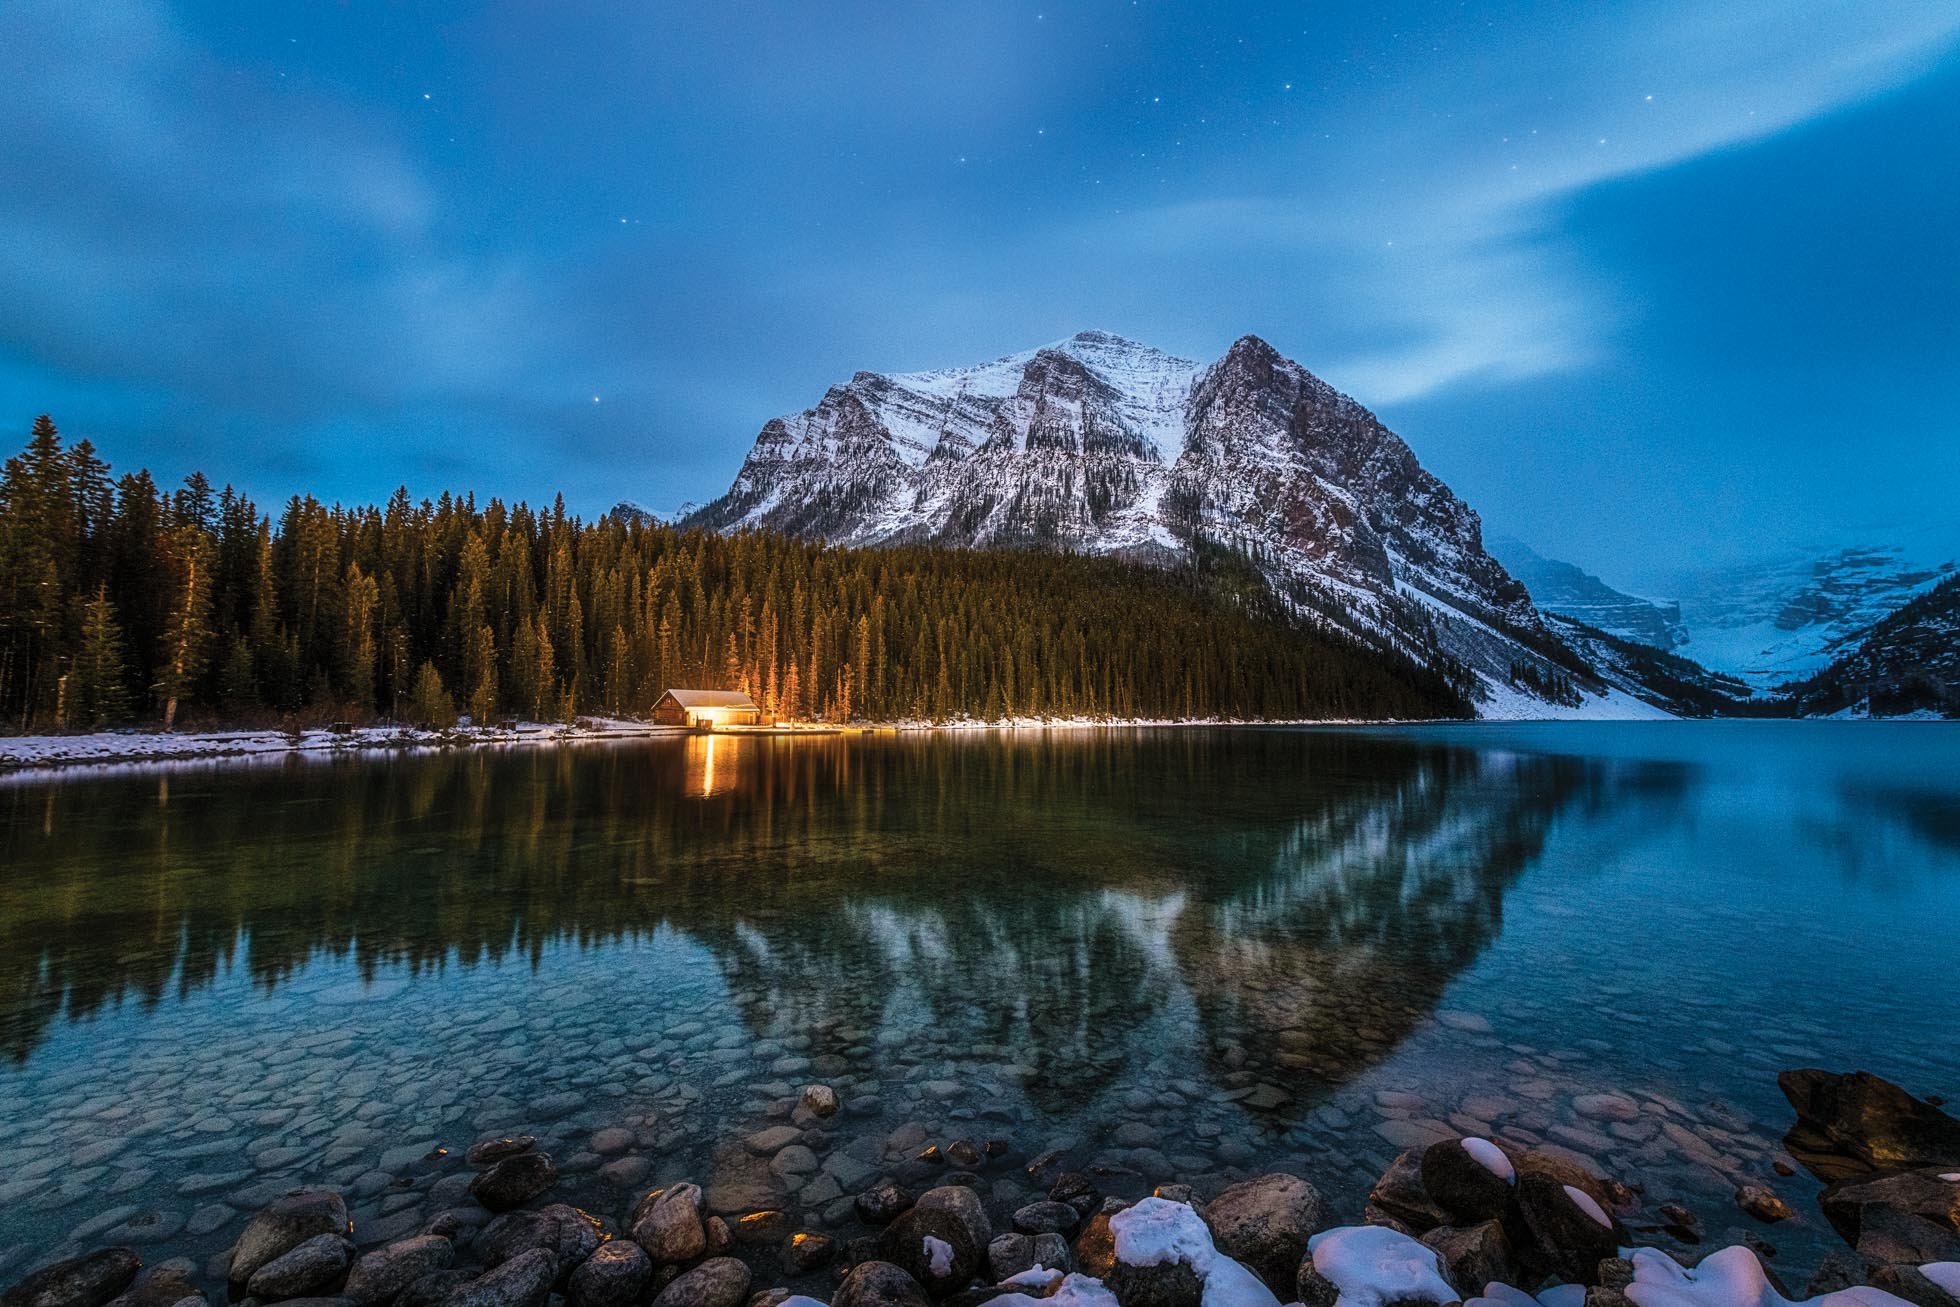
Night capture of Lake Louise boat house in Alberta, Canada. Image is a merge of an exposure for the boat house and another for the rest of the scene.
Kristen Ryan is a landscape and fine art photographer residing in the Midwest suburbs of Chicago. All images can be purchased in the Fine Art Store. Kristen leads ladies landscape photography retreats in the Tetons, Chicago, and the Canadian Rockies, offers private mentoring and teaches an online landscape photography workshop twice a year.