Welcome to my blog! Thank you for clicking into my little corner of the online world where I share my landscape passion through my images and tips for other landscape photographers! Sign up for my newsletter and get your free ebook with 25 Tips for Impactful Landscape Photography.
Links to Check Out!
Listen to my conversation with Brenda Patrella on the Outdoor Photography Podcast from October 4, 2022
Check out my podcast episode over on InFocus Women - with Sarina Jackson and Steph Vella
Listen to my conversation with Allison Jacobs on “The Creative Frame” podcast.
Read Kristen’s article, “The Allure of Nature”, in the December, 2020 issue of Outdoor Photographer.
Listen to Kristen & Matt Payne’s conversation on the F Stop Collaborate & Listen podcast aired January 6, 2021.
4 Tips for Capturing Mother's Nature's Atmosphere Part 2
A couple weeks ago I posted an article encouraging you to get out and capture Mother Nature’s Atmosphere in the fog, snow, rain and frigid temperatures. I believe that dramatic and inclement weather can create incredible opportunities for some of the most unique and compelling nature images. These moments happen amongst stormy skies and when the weather clears just enough to let light through. I also believe that even in what appears to be a dreary day, there is beauty to be found if we open our minds and think creatively to see the extraordinary in the ordinary.
So today I have 4 tips for capturing Mother Nature’s Atmosphere:
1) Let go of Expectations -
Head out with an open mind and without expectation for what you will capture. As a general rule, I try to do this whenever I go out to shoot but I think it is especially important when the weather is behaving unpredictably. Sometimes we can have a particular kind of beauty or image in our heads and that can blind us from seeing a different kind of beauty right in front of us.
The image below is captured at the iconic Oxbow Bend on a winter’s morning in 2016. Beyond these trees is typically where you would see Mt. Moran but on this morning, you would not know the Tetons were there. Instead of driving past, I captured the beauty of the mist and snow among the trees. While I hoped for a different view that morning, I made the most of what WAS in front of me and I really love the winter magic in this image.
2) Consider Different Focal Lengths & Perspectives - As landscape photographers, we are often drawn to the grand view and wide angle scenery. Sometimes the beauty will be in the expansive scene. But often we can find it in smaller segments of the landscape.
An overcast evening with low lying clouds at Emerald Lake in Yoho National Park created a beautiful atmosphere surrounding the Emerald Lake Lodge & its iconic restaurant view. Across the lake I was drawn to the way the low clouds mixed in the trees and reflected in the still waters of Emerald Lake. While I captured the wider view and loved it, I also used my telephoto lens to capture a smaller and more detailed scene. This is one of my favorite recently edited images.
One of the days of the September 2019 Magic in the Tetons retreat was extremely overcast and rainy. While we enjoyed a little extra sleep and a nice breakfast in town together, we also were determined to find some beauty in the day. The sky above was pretty dreary but the low clouds were beautiful as they floated through the evergreen trees. I grabbed my Sigma 150-600 to capture the atmosphere on the side of the mountainside. As much as I love my Teton views, this is one of my favorite images from the retreat. And I love how it shows the beauty we found even in some of the dreariest conditions.
3) Be Patient - Sometimes Mother Nature’s dramatic weather is spectacular in an obvious way, such as when a storm is brewing and the ominous clouds are passing over the mountains or ocean in the distance and you can comfortably capture the incredible drama. Other times, she brings consistent rain or overcast clouds. There are days the cloud cover or rain simply does not let up, but holding patience for a partial clearing, or even a single moment of light, can lead to incredible images. In those brief periods of light between the dreary skies, or waiting out the downpours, we can find amazing beauty. Sometimes even a lackluster sunset can become colorful a short while after the sun goes below the horizon.
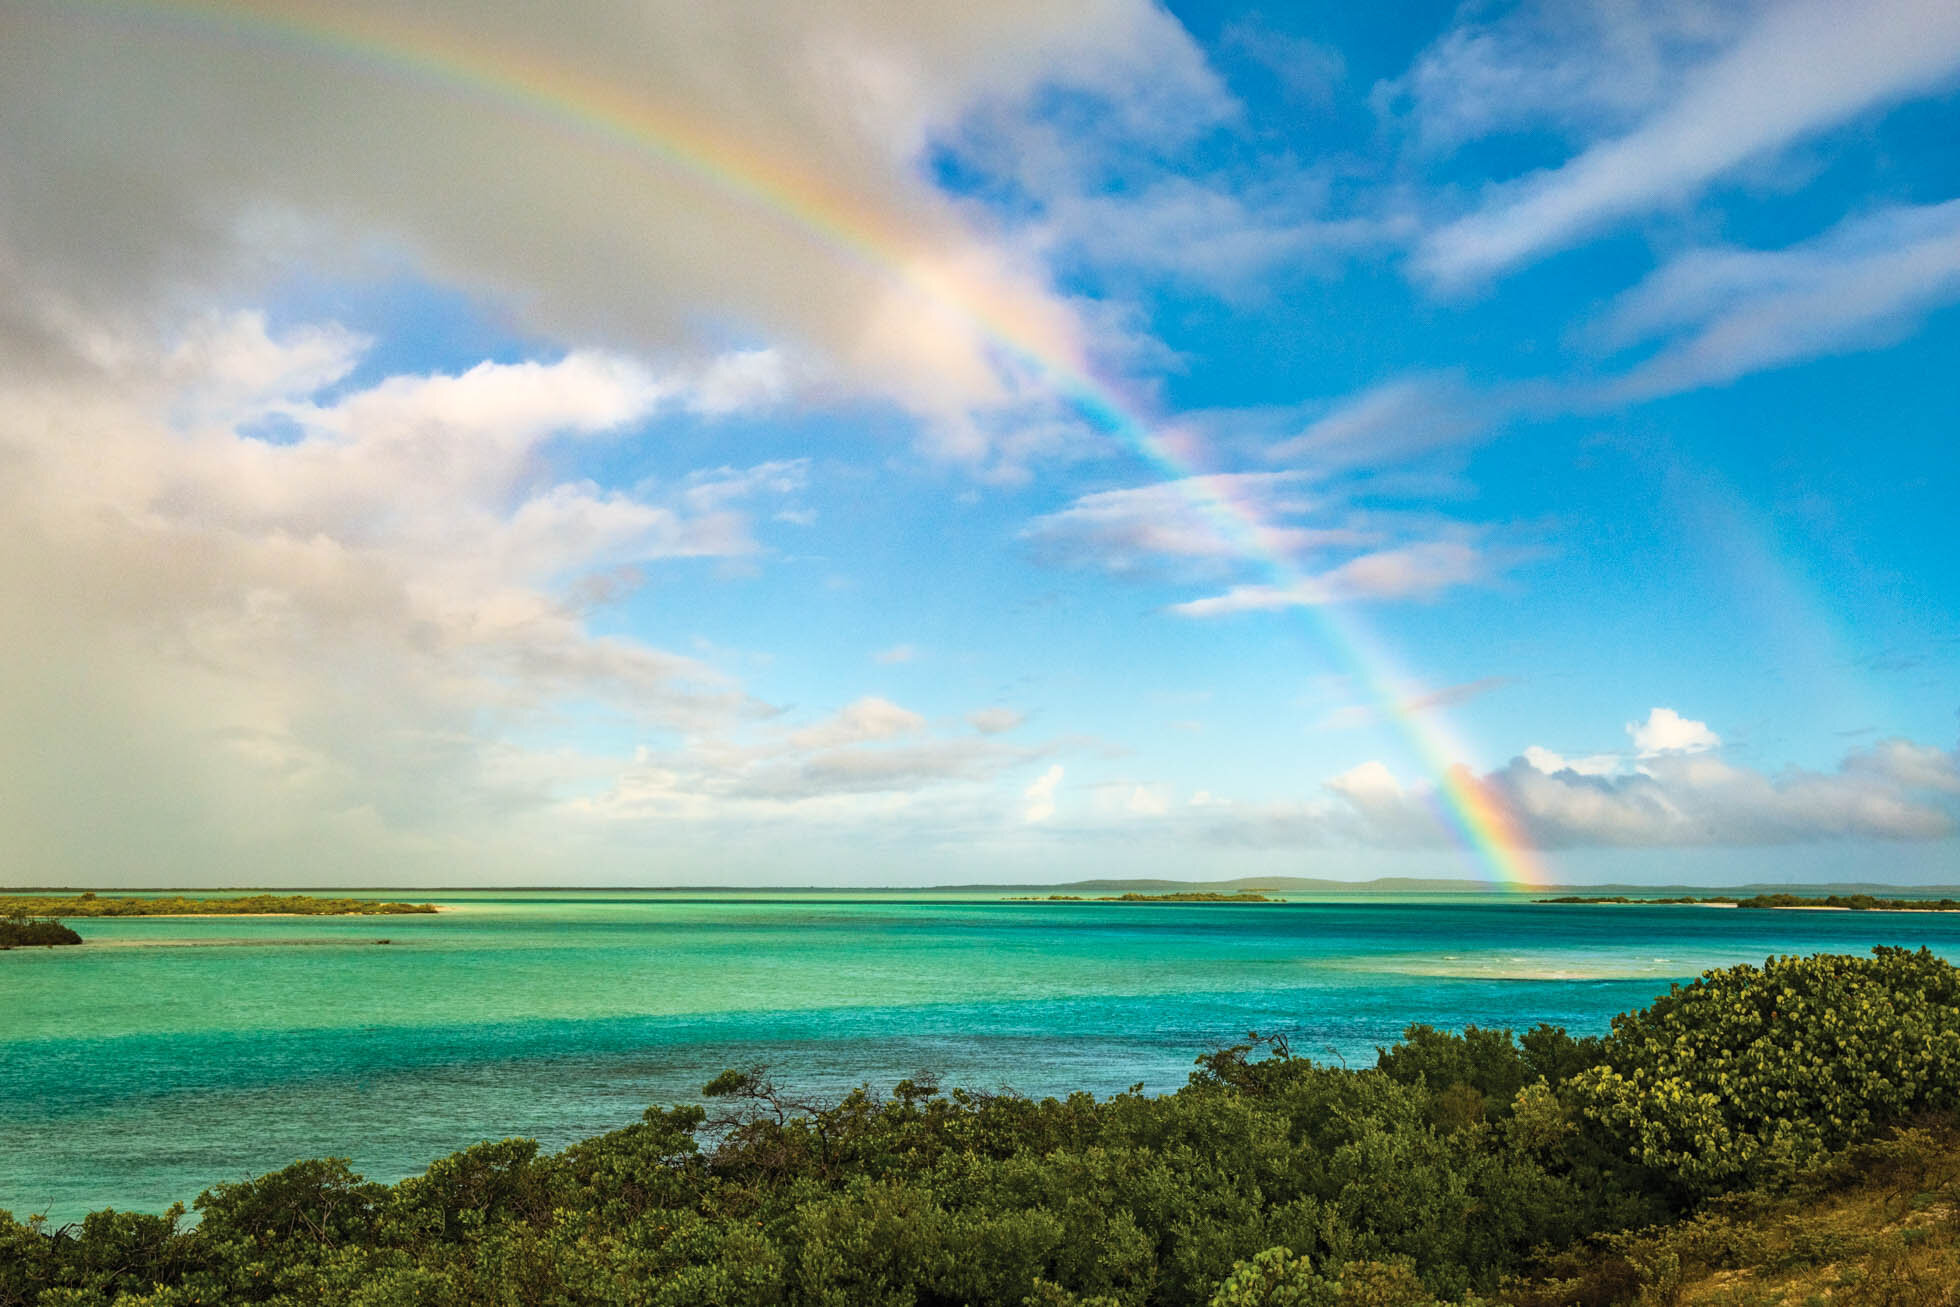
While in Turks & Caicos, my husband and I rode our bikes 3 miles to the edge of South Caicos for sunrise one morning. While we were there, we got caught in a downpour and we ran off to an abandoned building for shelter. Instead of leaving, we waited out the rain as I was hopeful that the clearing of the clouds would create some beautiful light. Not only did we get a bit of clearing, but we also got a beautiful rainbow, and actually a hint of a double rainbow too!
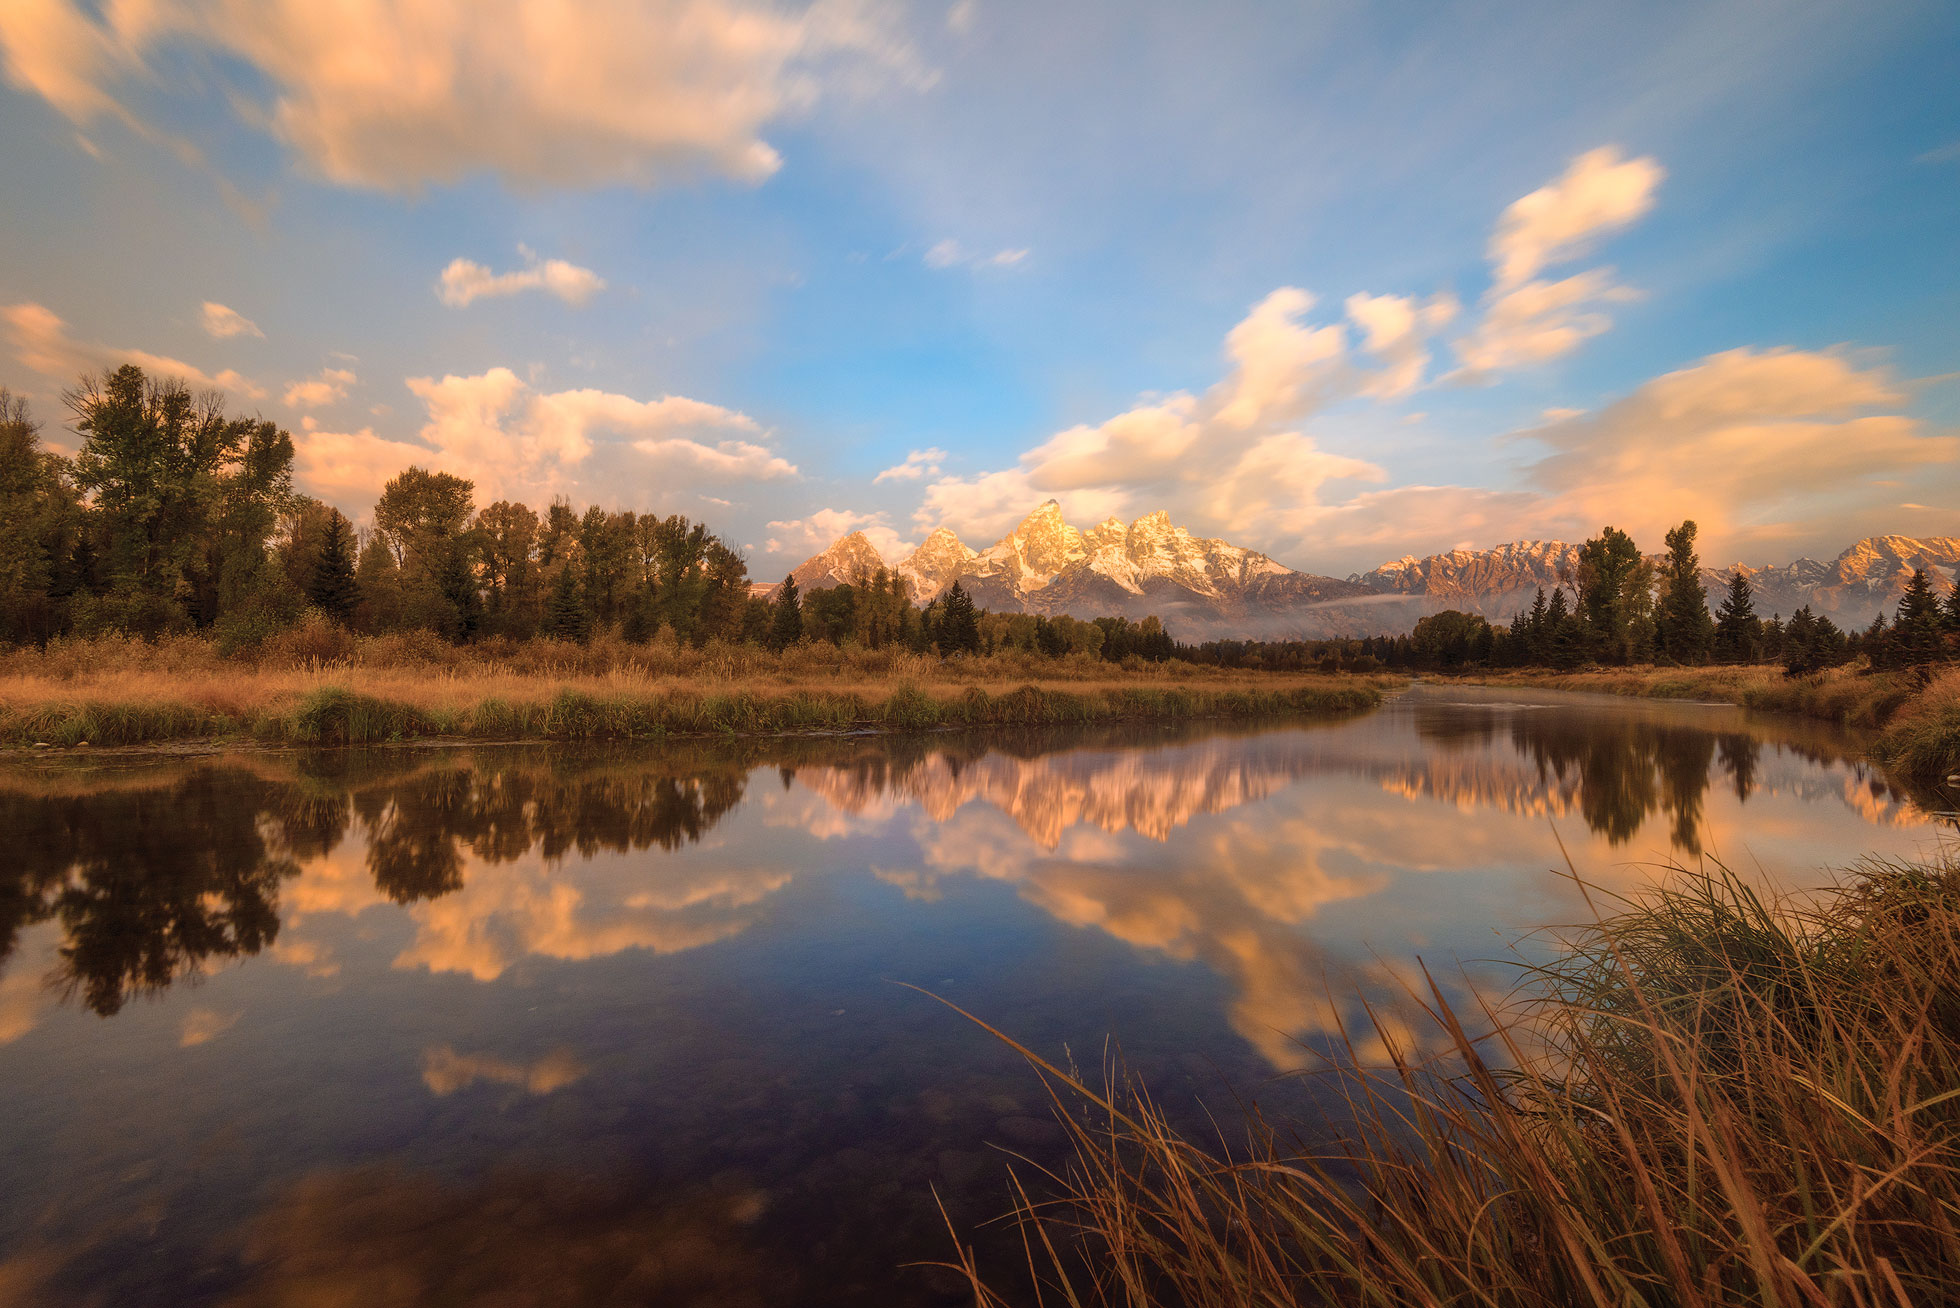
On this evening of the Magic in the Tetons retreat, we arrived a little before sunset to rather cloudy skies. I found the intense blue clouds and yellow fall foliage to be a stunning contrast. Sunset itself was quite lackluster but we held on for awhile just waiting well past when the sun went below the horizon. Our patience paid off as about 20 minutes after ‘sunset’, this incredible pink appeared in the sky, enhanced by the long exposures we were shooting.
4) Get Out There!
Even when the forecast is questionable, get out there anyway! Yes, sometimes you may get skunked but quite often you’ll find unexpected beauty or the weather will break at just the perfect moment. There have been so many times I have gone out in rain, freezing rain, or overcast clouds wondering if the shoot would be a bust and come home with images I love. In some cases Mother Nature surprised me by bringing a well timed clearing or beautiful colors in the clouds. Other times I found beauty in unexpected ways.
On this day in Banff National Park, the clouds covered the mountains and the sky was dreary and overcast, but a brief window of light came along at the perfect time over Bow Lake. In the drive from Lake Louise to Bow Lake, the clouds left little hope of finding this beauty, but there it was. Worth the effort!
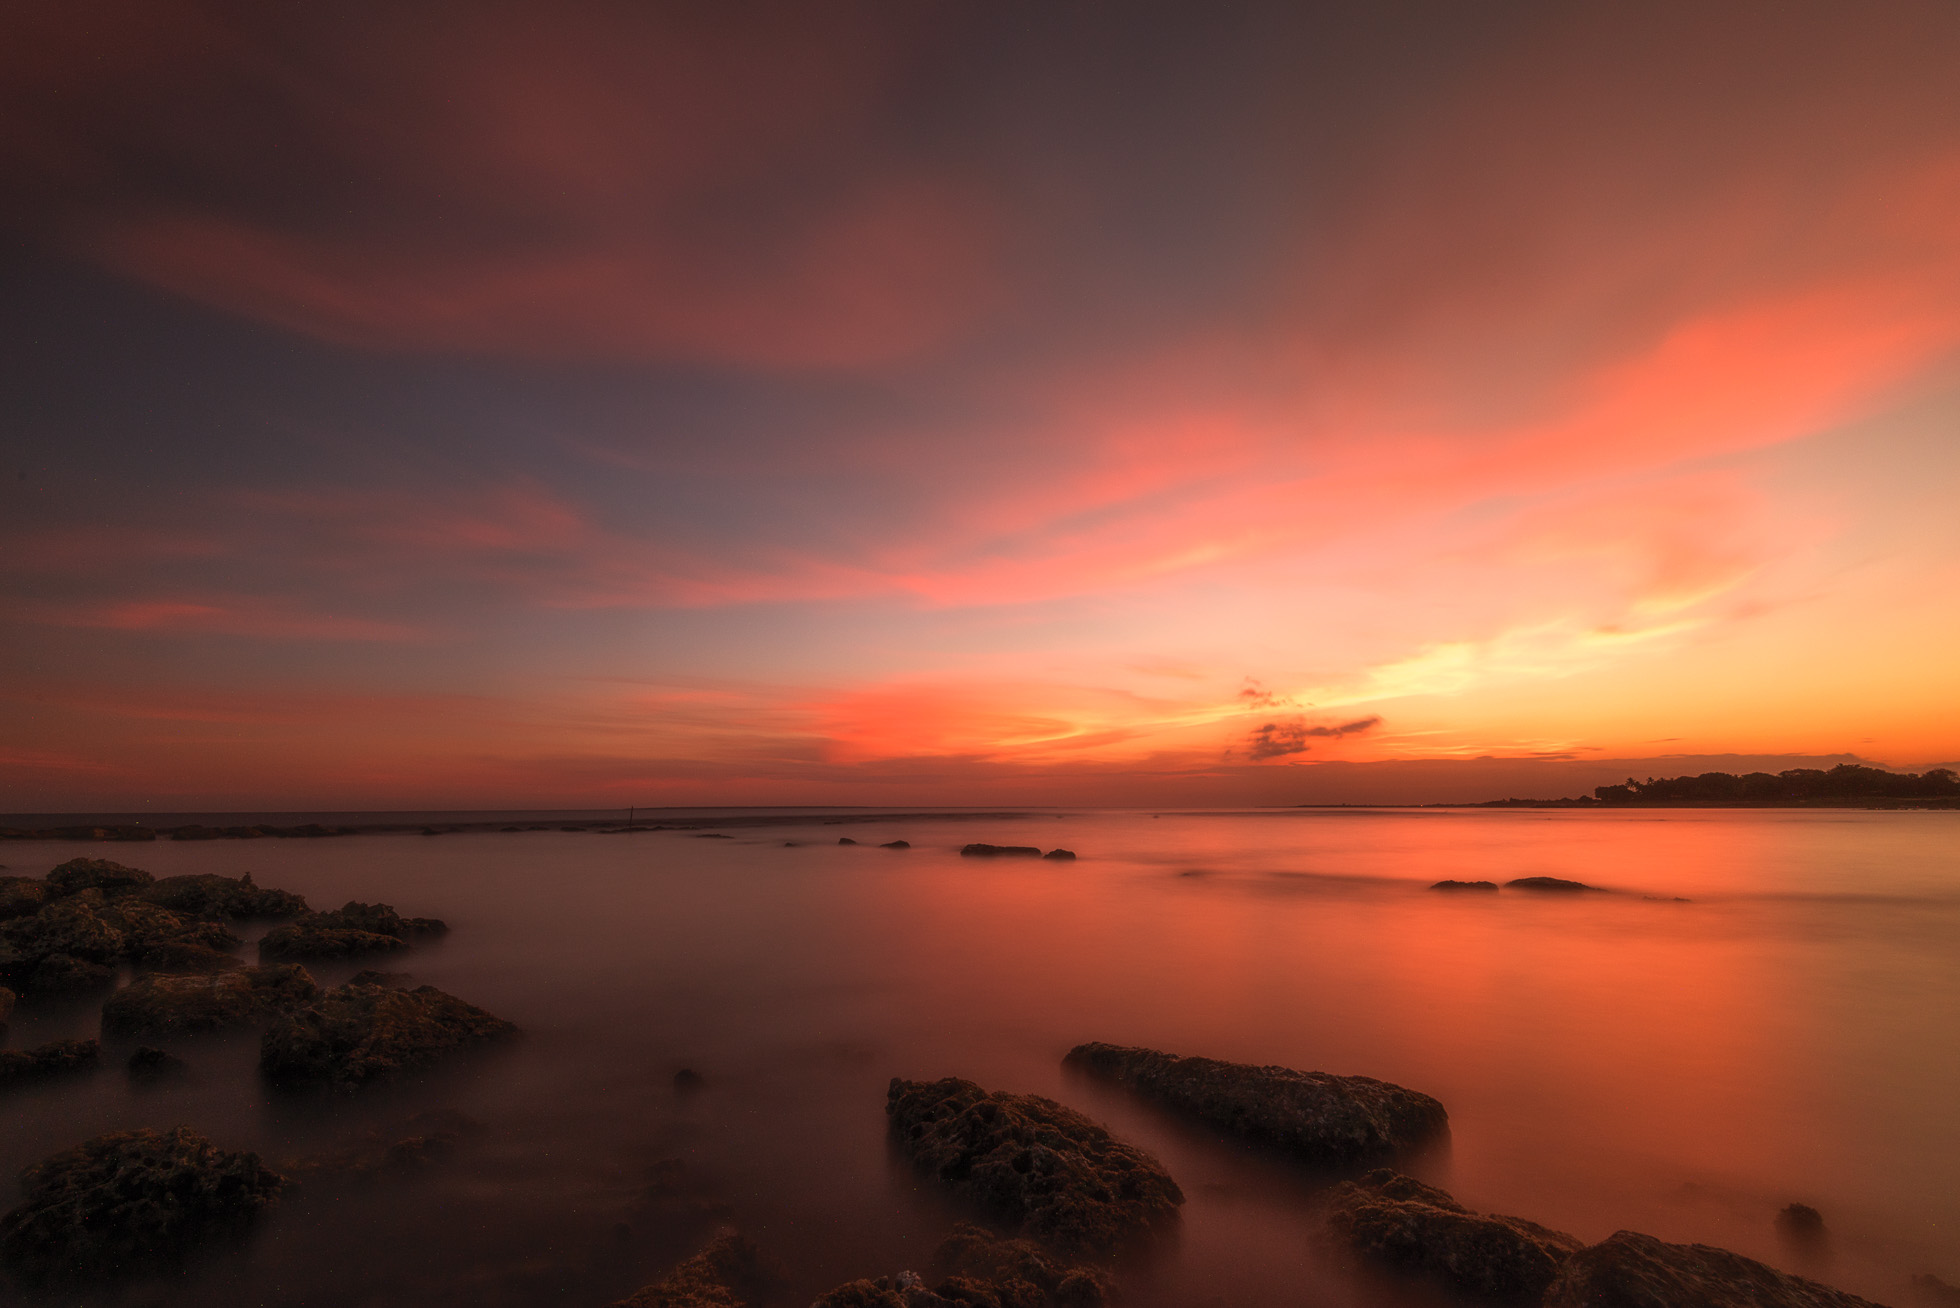
As my friends and I drove 20 minutes from Dana Point, CA to Crystal Cove, the rain came down on us. We knew our efforts may be in vain, but we were only there for one more night and we wanted to make an effort. This was also an outing to see this place that was so special to my friend, Brynn Schmidt. As we parked, the rain was beginning to let up and we could see the makings of incredible light. We practically sprinted to the beach and could barely set up our tripods fast enough. I don’t think we even spoke to each other for 30 minutes and we raced to capture the beauty in front of us. When we left our hotel earlier that afternoon, this sunset would never have been what we predicted. Go out anyway! It won’t pay off every time, but sometimes it will.
Lose your expectations, open your mind, practice patience and perseverance! Capture the beauty of Mother Nature’s atmosphere!
While at the moment, many places are off limit to us as we ‘social distance’ and ‘shelter in place’, I look forward to when I am able to travel again, both locally and across the world. In the meantime, I am traveling virtually through my image catalog and finding many images yet to be edited. I’m storing away my ideas and inspiration for the day I can travel again and hope you do too! In the meantime, reach out to me if you' have any topics you’d like to read about as we shelter in our homes. Stay healthy!
My online landscape photography workshop, The World Around You, is now open for registration! Sign up at Click Photo School.
Kristen Ryan is an award winning and published landscape and fine art photographer and educator residing in the Midwest suburbs of Chicago. All images are available for purchase in the Fine Art Store or by request. Kristen leads ladies landscape photography retreats in the Tetons, Chicago, and the Canadian Rockies, offers private mentoring and teaches an online landscape photography workshop, The World Around You.
Choosing a Neutral Density Filter
Neutral Density filters block light from the camera sensor. There are many Neutral Density (ND) filters of varying strength which block anywhere from 2 stops to 15 stops of light. In landscape photography, we use ND filters to reduce the light coming into our camera sensor so that we can slow down the shutter speed for creative effect. The ND filters that I always carry in my bag are 6 stop, 10 stop and 15 stop filters from Breakthrough Photography. The one that I need at any given time depends on the light of the scene, the subject I am photographing and the creative effect I am envisioning in my frame.
1 second exposure in Oahu using a 6 stop Neutral Density Filter from Breakthrough Photography
6 Stop Filter
A 6 stop filter is perfect for a number of situations where you want to reduce your shutter speed in the .4 second to 5 second range. I use my 6 stop filter when I want to create abstract photos of water or trees by using a panning technique. The 6 stop filter is perfect for photographing waves and water when I don’t want to freeze the motion but I want to keep some shape, texture and detail in the water. This is a technique I love to use at the ocean, lakes or rivers. It is also perfect for smoothing the water of waterfalls to create a soft flow. The longer exposures of 5-10 seconds will create a very smooth effect while less than 5 seconds leaves a little more texture in the water. In very low light, the 6 stop can allow an exposure of 10 seconds or more, but in brighter light, the 10 stop will be needed.
.4 second exposure with a 6 stop Neutral Density Filter
1 second exposure capturing the movement of the waves of Lake Michigan using the 6 stop Neutral Density filter
1 second exposure panning the autumn color in Grand Teton National Park using a 6 stop Neutral Density Filter
Shutter Painting at Crystal Cove State Park using a 6 stop Neutral Density Filter
1.6 second exposure with a 6 stop Neutral Density Filter
The 10 stop is my go to filter for exposures 15 seconds and longer. In daylight, the 10 stop is needed for these creative long exposures of water or clouds. Imagine those super smooth waters and wispy clouds. Those are when I pull out my 10 stop filter.
2 minute exposure during sunset with a 10 stop Neutral Density Filter
3 minute exposure during very early sunrise with a 10 stop Neutral Density Filter
30 second exposure at Oxbow Bend with a 10 stop Neutral Density Filter
The 15 stop filter is the filter I need for creating dynamic wispy clouds during the daylight. This filter will allow me to shoot 3-6 minutes of clouds and capture creative clouds even with slow moving clouds.
4 minute exposure using a 15 stop neutral density filter from Breakthrough Photography
Neutral Density filters are an incredible tool for adding creativity to your landscape, seascape and nature photography. I highly recommend Breakthrough Photography* filters for their great quality. Have more questions about choosing a filter, feel free to reach out and ask me! I’m always happy to help.
Kristen Ryan is a landscape and fine art photographer residing in the Midwest suburbs of Chicago. All images can be purchased in the Fine Art Store. Kristen leads ladies landscape photography retreats in the Tetons, Chicago, and the Canadian Rockies, offers private mentoring and teaches an online landscape photography workshop twice a year.
*Affiliate Link
Photographing Water With Creative Exposures
When first learning to shoot in manual mode, we learn that aperture, ISO and shutter speed create the exposure triangle. If we change one of these settings, we then have to alter another one to achieve proper exposure. In the beginning, when I was learning the exposure triangle, I was shooting more portraits of my kids and loving the beautiful blur that came from wide open apertures. In creating this blur and bokeh, my shutter speed was typically fast to counterbalance the wide apertures in the exposure triangle.
Over time and especially as I fell in love with landscape photography, I learned to consider shutter speed as not only a part of the exposure triangle and important in freezing the motion of my fast moving toddlers, but as a creative choice. In fact, creative shutter speed use is one of my favorite techniques when shooting moving water within a landscape.
There are 3 main choices when it comes to using shutter speed to capture water: 1) A fast shutter speed used to freeze the motion of the water and maintain texture. 2) A slower shutter speed in the range of say .4 seconds - 3 seconds which will smooth the water a bit but maintain some texture and shape and 3) a very slow shutter speed of at least 5 seconds or longer that will smooth the water completely and create a dreamy quality. Each of these exposure times creates a different texture of the water and mood in the overall image.
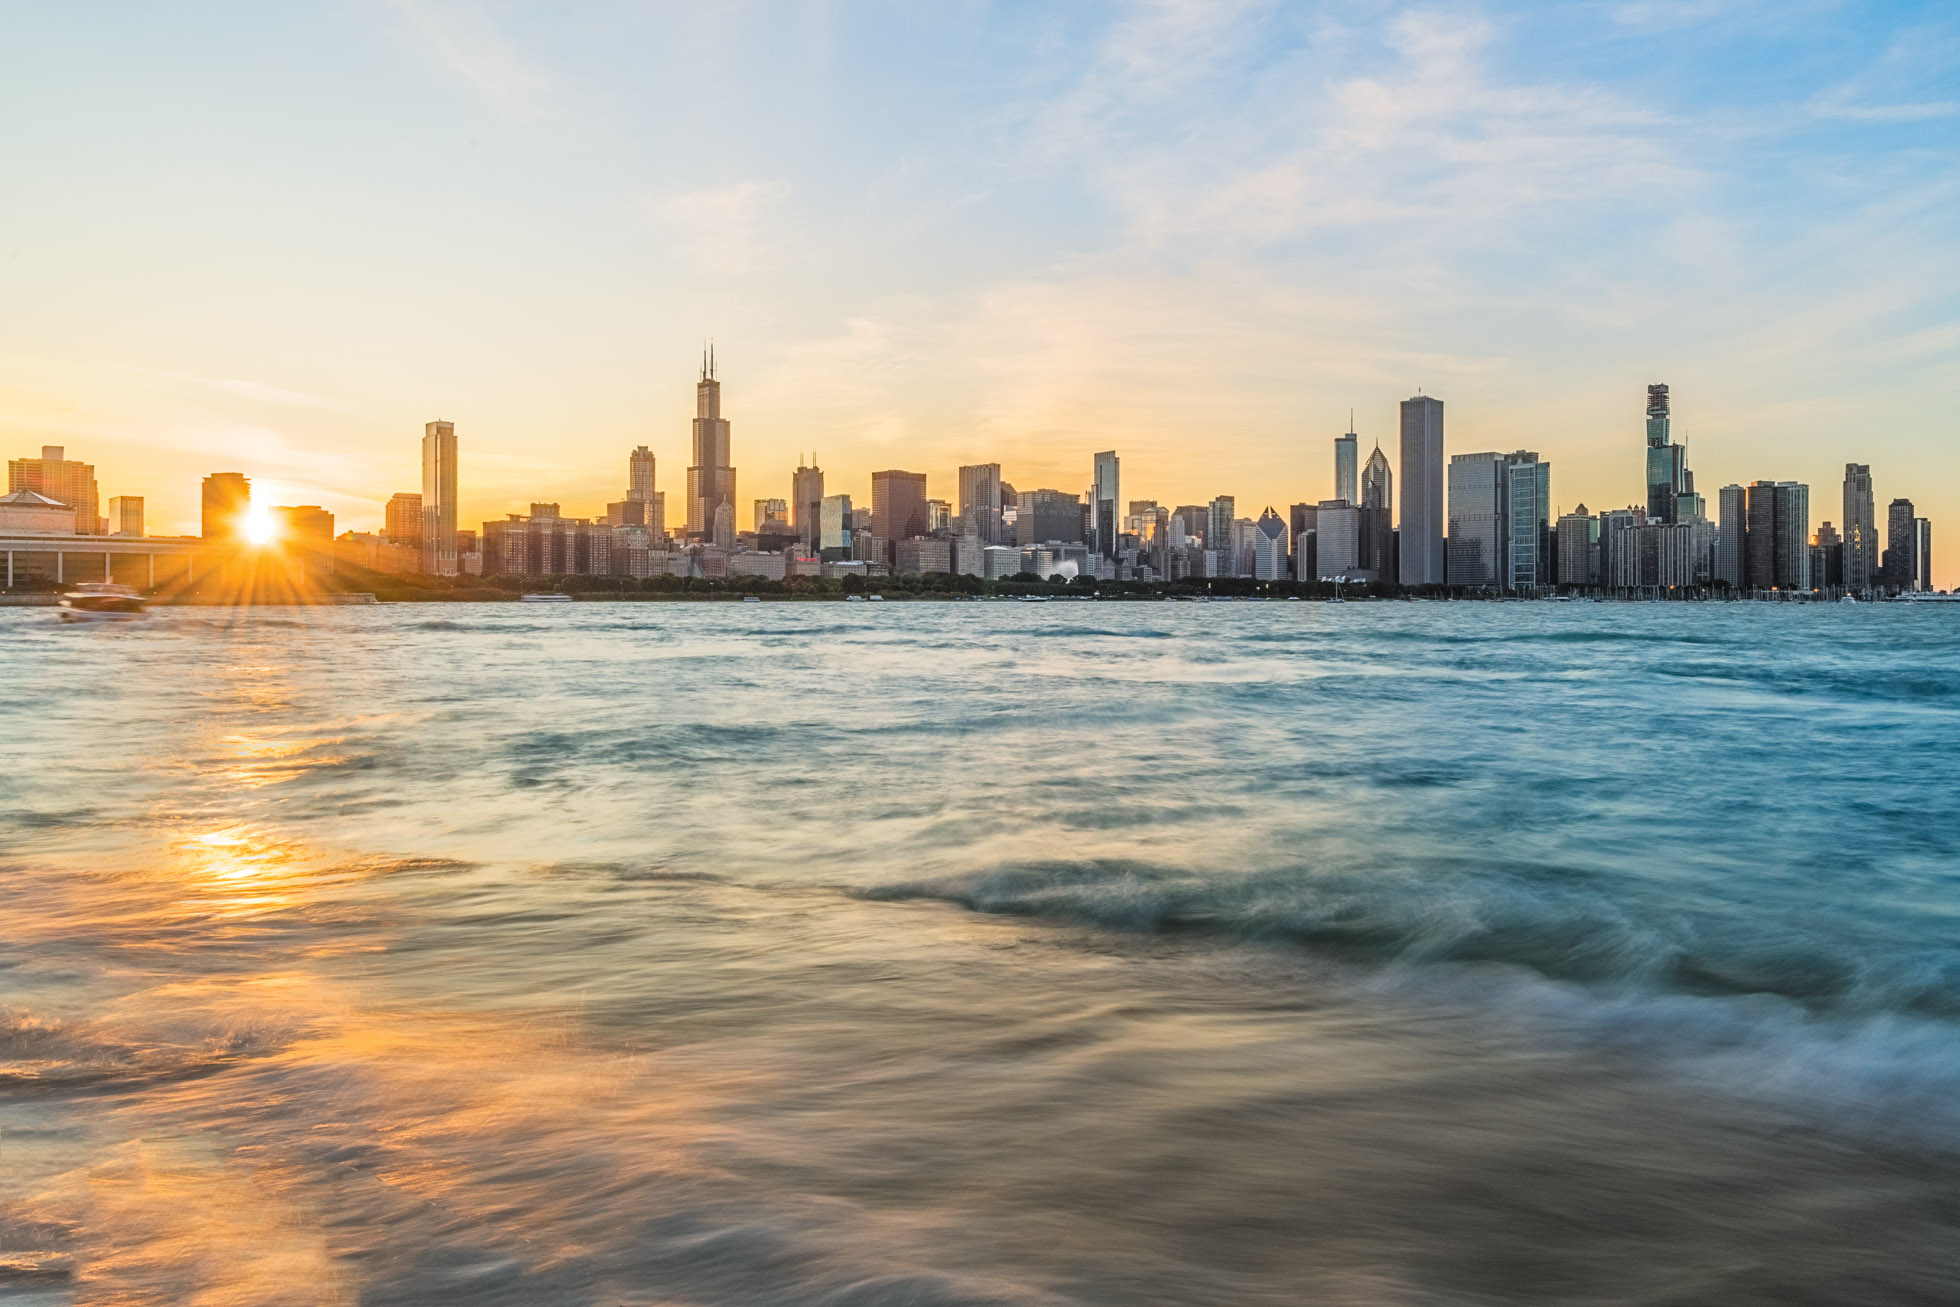
Chicago Skyline on a windy and wavy day. Captured with a 1/320 shutter speed.
1) Fast Shutter Speed - The image above was captured on a very windy day in Chicago and the waves were crashing hard along the pavement below the steps outside Adler Planetarium. The fast shutter speed freezes the motion of the waves and shows the texture of the water. This exposure choice allows the viewer to see the rough water and feel the mood of the scene captured.
1 second exposure of the rough waves on a windy day in Chicago!
2) Slow shutter speed in the .4 second to 3 second range. This choice of exposure does not freeze the motion of the water and creates a smoother effect than a fast shutter speed. The blur of the movement still maintains some texture in the water and shape in the waves. This choice also maintains a bit of the actual mood of the windy and wavy scene but also adds a creative effect. A shutter speed in this range will typically require the use of a Neutral Density filter unless shot in very low light. This image was captured using a 6 stop Neutral Density filter from Breakthrough Photography *.
60 second exposure after the sun dipped below the horizon
3) Long Exposure 5 seconds or more. These exposure times will smooth out the movement of the water and the longer exposures (15 seconds+) will create a dreamy and serene feel in the image. This moment felt very serene standing on the shores of Lake Michigan watching the beautiful sunset colors light up the sky. While the image does not show the rough waters that existed, it does represent my mood as I captured the scene. Sometimes creative exposures capture how we feel even if the scene appeared a bit different in reality.
Longer exposures in the range of 5 seconds to minutes require the use of a Neutral Density filter except when shooting in the dark. This 60 second exposure also used a 6 stop Neutral Density filter from Breakthrough Photography.* Quite often, exposures of this length will need a 10 stop ND filter.
Kristen Ryan is a landscape and fine art photographer residing in the Midwest suburbs of Chicago. All images can be purchased in the Fine Art Store. Kristen leads ladies landscape photography retreats in the Tetons, Chicago, and the Canadian Rockies, offers private mentoring and teaches an online landscape photography workshop twice a year.
*Affiliate Link
My Essential Landscape Gear
As I prepare for my first 2019 Ladies Magic in the Tetons Retreat, I thought I would share the tools that I carry in my bag to capture the beauty around me. Landscape Photography is a genre that tends to be heavy on gear. And quite often I will weigh down my shoulders in order to have all the creative options available to me. If you read my recent article on the Best Lenses for Landscape Photography, you know that there is not just one lens that works best for every scene. Add in tripods and filters and my bag gets pretty full! Keep reading and you can learn about my favorite and most used gear and why each is essential to my landscape work.
I absolutely love my Promaster bag. It has a big main section that fits 2 camera bodies plus several lenses. The top flap has a thin compartment that is perfect for carrying an iPad, small laptop, or important papers or items to stash away in a safe area while out and about. There are several zippered compartments perfect for holding my other gear I will share below such as an intervalometer, filters, extra batteries and memory cards. One side has a pocket perfect for my water bottle or coffee thermos and both sides have straps to hold a travel tripod.
2. Nikon D850 & Nikon D810
My D850 is my workhorse camera and it is the main body I use to capture the majority of my images. It has incredible resolution and is super sharp. The tilt and touch screen is amazing for capturing unique perspectives and all the buttons are so intuitive and easy to adjust settings with ease. My D810 is my well loved second body and I always have it with me not only as a back up but to be able to set it up for a time lapse or shoot fast shutter speed images while my D850 is shooting long exposures.
3. Tripod
My tripod is an essential item in my landscape bag. I have two lightweight carbon fiber tripods that travel with me for my landscape photography trips. My lightest and most compact tripod is my Gitzo GIGT1555T Traveler Series 1 Carbon Fiber Tripod. It is extremely light and compact and can fold up to fit in a carry on roller bag. My other tripod is a Promaster Specialist Professional Tripod and it is also very light with flip lock legs. I love that there is a soft foam area on one tripod leg for carrying as the tripod legs can get extremely cold in frigid weather. A tripod is essential to have for long exposures, night photography and time lapse photography. I will often have two tripods so that I can do time lapse and long exposures at the same time.
This wide angle lens spends a lot of time on my camera. I love a wide angle that showcases dramatic skies or the jaw dropping expanse of a mountain range. 16mm can capture an extensive scene while 35mm is still a wide angle but brings the scene closer to what our eyes experience in real life. It is a perfect range for capturing the incredible landscapes of the world.
16mm
My 24-70mm lens is my go to lens when I go on a hike and just want to carry my camera with one lens. At 24mm, you can get a nice wide expanse. At 70mm you can zoom in and get more detail. In the mid range, the images beautifully represent the landscape the way our eye experiences the scene.
24mm
60mm
I adore my 70-200mm f/2.8. The lens is extremely sharp and captures those beautiful details that are far away from me. This telephoto lens allows me to capture the beauty of light hitting a mountain peak or filling my frame with details and texture that draw me in. While the wide angle focal lengths capture the great expanse of the whole scene, the telephoto captures those far off details.
200mm
7. Sigma 14mm f/1.8 & Nikkor 14-24mm f/2.8
These two lenses are my go to lenses for astrophotography. Both of these lenses are extraordinary choices for shooting the night sky. Not only do their ultra wide angles capture an incredible number of stars but they are also fast, allowing me to keep my ISO lower as I open up the aperture. One might ask why have two lenses for astrophotography but I love to set one to take a time lapse while I experiment with compositions with my other camera & lens.
14mm
This lens is a beast of a lens but it is perfect for capturing those very far off details like the tip of a mountain top, a tree with beautiful light across a lake or wildlife in which you must keep a safe distance.
550mm
9. Breakthrough Photography Filters
Filters are an essential technical and creative tool in my landscape imagery. Polarizers, Neutral Density Filters, and Graduated Neutral Density Filters are each helpful in their own way. Polarizers cut out haze and glare and give greater definition to clouds and vibrance to colors. They also cut glare off of water when shooting rivers, waterfalls, and lakes.
Graduated Neutral Density filters cut out light from part of the frame, such as a bright sky, to allow you to brighten your exposure and capture more detail in the shadows without blowing out the highlights of the scene. This filter is extremely helpful scenes with a large dynamic range.
Neutral Density Filters cut light from the entire frame. You can purchase neutral density filters in varying degrees of strength. I own 6 stop, 10 stop and 15 stop filters. Depending on the ambient light and the creative effect I am going for, I choose which filter will help me create my art.
10. Intervalometer
My remote intervalometer is one of my most used tools. A remote trigger is helpful to avoid any camera shake when the shutter is pressed. I use my intervalometer for shooting long exposures and time lapses.
11. Headlamp & Flashlight
If I am headed out at night, I have a headlamp and a flashlight for both lighting my way in the dark and locating necessary gear or buttons. It is so helpful for night photography to know your gear well in the dark, but sometimes you need a little extra light. A strong headlamp light is not only helpful but is also comforting in the pitch black as you get to your shooting location.
12. Extra Batteries & Memory Cards
There is nothing worse than discovering your camera is missing its memory card or battery, finding them run down or out of space at the beginning or middle of a shoot. I keep several extra batteries and memory cards in my bag so that I have back ups in case of an emergency.
13. L Bracket
My L Bracket on my D850 allows my camera to sit tight in my tripod whether I am shooting vertically or horizontally.
14.. Extras
Some additional items I often carry in my bag are clean microfiber clothes & Zeiss Lens wipes for cleaning my lenses, extra AA batteries for my intervalometer, hand warmers for colder weather, and a coffee thermos and/or water bottle!
Beautiful landscape imagery can be captured with whatever gear and camera you own, so don’t let what’s in YOUR camera bag stop you from getting out and capturing the beauty. But if you are looking for new tools, I hope these favorites of mine will help you out!
Kristen Ryan is a landscape and fine art photographer residing in the Midwest suburbs of Chicago. All images can be purchased in the Fine Art Store. Kristen leads ladies landscape photography retreats in the Tetons, Chicago, and the Canadian Rockies, offers private mentoring and teaches an online landscape photography workshop twice a year.
