Welcome to my blog! Thank you for clicking into my little corner of the online world where I share my landscape passion through my images and tips for other landscape photographers! Sign up for my newsletter and get your free ebook with 25 Tips for Impactful Landscape Photography.
Links to Check Out!
Listen to my conversation with Brenda Patrella on the Outdoor Photography Podcast from October 4, 2022
Check out my podcast episode over on InFocus Women - with Sarina Jackson and Steph Vella
Listen to my conversation with Allison Jacobs on “The Creative Frame” podcast.
Read Kristen’s article, “The Allure of Nature”, in the December, 2020 issue of Outdoor Photographer.
Listen to Kristen & Matt Payne’s conversation on the F Stop Collaborate & Listen podcast aired January 6, 2021.
Wide Angle to Telephoto Case Study - Waimea Canyon
Recently I wrote an article for Click Magazine and Sigma about Why I love my Sigma 150-600mm Contemporary Lens for Landscape Photography. Shortly after writing this article, my family flew off to Kauai for spring break. When thinking of photographing the scenery of Kauai, I suspect a wide angle lens comes to mind for capturing the spectacular mountains and coasts of this garden island. And while a wider focal length was a great choice for many scenes, I frequently grabbed a longer focal length to tell the stories that caught my eye.
Carrying a range of focal lengths from 14mm to 600mm allowed me to photograph a variety of unique images that tell a more complete story of the beauty I saw than if I was limited to wider angle lenses.
Today I want to share a small collection of images from my last morning on the island. While my family slept in, I awoke at 4:30 a.m., grabbed my gear and necessary coffee and headed out on an hour and 20 minute drive from my hotel to the famed Kalalau Lookout, arriving shortly before sunrise. My first attempt visiting this view was met with rain and fog and I hoped the early morning would allow me to get a glimpse of the NaPali Coastline. We’ll save these images for another day.
After experiencing the beauty of the Kalalau Lookout, I headed back down the road to Waimea Canyon where the clouds were minimal and the sun was already shining brightly. I pulled into the empty parking lot and walked out to the platform where I enjoyed the view by myself for awhile.
Looking out over the canyon, I was wowed by the vastness and the way the sun streamed into all the pockets, highlighted the many layers and led my eye to the river below. This was not my first time visiting Waimea but the beauty still amazed me!
I took a moment to grab my widest angle lens, the Sigma 14mm f/1.8 to photograph the vast and grand beauty of the canyon.
Grand view of Waimea Canyon with the Sigma 14mm f/1.8 lens
While I love the wide view the 14mm provided, with the many layers from foreground to sky, I could see so many smaller stories within the canyon. Additionally, with the sun as bright as it was, I did not want to include it in all of my images.
I grabbed my Sigma 24-105mm f/4 to get in a little closer. In this first one, shot at 82mm, I zoomed in on this area of the canyon where the light was streaming down and illuminating the ridge below.
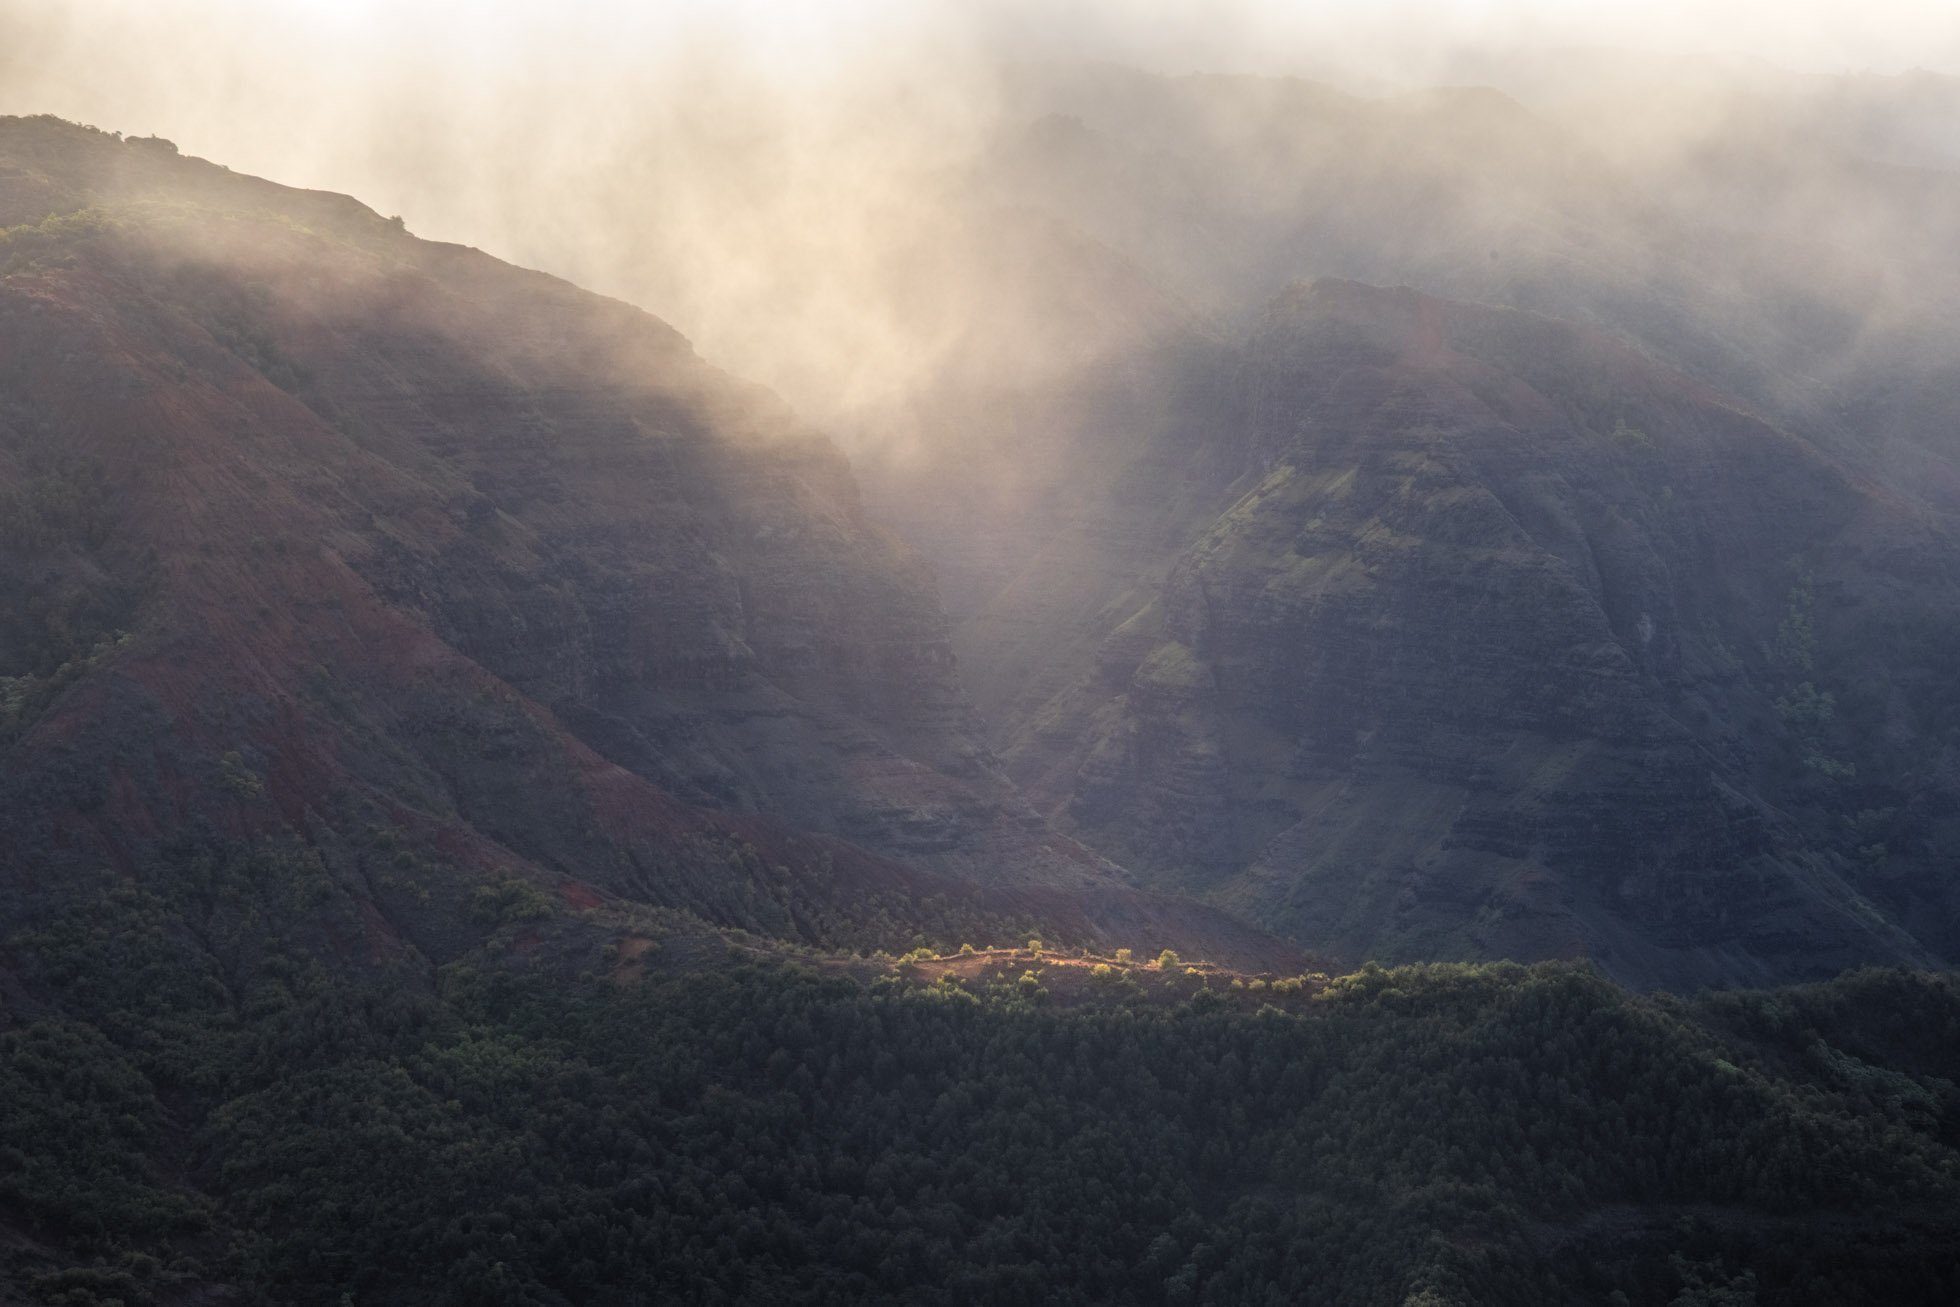
And then I zoomed in more at 105mm to capture the way the light was streaming into the canyon below!
And then I moved on and grabbed the Sigma 150-600mm to get in a little closer and isolate some light and layers in the canyon.
310 mm to focus in on the layers of ridges from foreground to background
150mm focusing in on the light streaming into this pocket of the canyon
150mm giving a close up view of the river flowing through the canyon
440mm gets in close to the details of this ridge as the light hits the edges of the rock
Having a range of focal lengths in my bag with the Sigma 14mm, Sigma 24-105mm, and Sigma 150-600mm lenses allowed me to explore the canyon with my eyes and to isolate various peaks, ridges and light play that grabbed my attention. The longer focal lengths were the perfect tool to zoom in on the highlights, excluding other areas that might have distracted from the story I wanted to tell.
Next time you’re out, consider bringing a variety of lenses to photograph both the grand and intimate stories of the landscape!
Kristen Ryan is an award winning and published landscape photographer and educator residing in the Midwest suburbs of Chicago. All images are available for purchase in the Fine Art Store or by request. Kristen leads ladies landscape photography retreats in the Tetons, Glacier NP, Hilton Head, Chicago, and the Canadian Rockies, offers private mentoring . New online educational materials are coming soon!
4 Tasks to Prepare Camera Gear for a Photography Trip
Are you getting ready for a photography trip coming up soon? I’m just getting started with my 2022 travels and thought I would share the 4 things I do to prepare my gear before I travel so I’m prepared when I get out in the field.
1) There is one thing that I do before almost every trip I take and I cannot recommend it highly enough. I clean my camera sensor. If you have gone on a trip and come home to upload your images only to find that you have tons of little sensor dust spots, then you know how truly annoying it can be. It is a tedious and thankless job to have to clone out all those spots.
I know that cleaning my sensor a week or two before a trip is one small thing I can do to start out with my gear in the best shape. And clean gear is one factor that plays a part in creating high quality images.
If you have a camera store near you, you should be able to get your sensor cleaned there. (Note: Take it in with a fully charged battery!) You can also get sensor cleaning kits that allow you to clean your sensor yourself. There are a lot of tutorials out there to show you how to do this for your specific camera.
In addition to cleaning my sensor, as I get ready to travel, there are a few more things I do as I get ready to travel or prepare for a day of shooting.
2) As I gather and organize my lenses and filters to pack in my bag, I spend a little time cleaning them and checking them for smudges and spots. Just like camera sensor spots, dirty filters and lenses can also ruin image quality.
3) I charge up my batteries and make sure I start with a full battery in my main camera, my back up camera and an extra one for each. Then I put my charger right into my bag or suitcase so I don’t forget it!
4) Since I want to start out with an empty memory card with lots of space for my new images, I check to be sure all the images are uploaded and backed up in two places. Then I format my card so it’s ready for more exploring! While it is my typical workflow to upload and back up upon return from a shoot, it’s always a good idea to double check before formatting a card.
These steps set me up for success with clean gear ready to start off my next photography outing in the best possible way. I hope they serve as a helpful reminder to you for your next trip!
Kristen Ryan is an award winning and published landscape photographer and educator residing in the Midwest suburbs of Chicago. All images are available for purchase in the Fine Art Store or by request. Kristen leads ladies landscape photography retreats in the Tetons, Glacier NP, Hilton Head, Chicago, and the Canadian Rockies, offers private mentoring . New online educational materials are coming soon!
8 of my Favorite Things for my Photography
With the holidays coming up, I thought I’d take a few moments to share some of my favorite things that make my photography more successful and enjoyable! Perhaps one of these items will be a great addition to your wish list or a great gift for a loved one who is a photographer.
1) Sigma 150-600 f/5-6.3 DG OS HSM | Contemporary Lens - If you have read about my favorite lenses for landscape photography, you know that I use focal lengths from ultra wide to telephoto. When I began shooting landscapes, I was so drawn to dramatic skies and vast scenes that my wide angle lens was the one I reached for most. Several years ago, I purchased this telephoto lens, largely for wildlife and some of my kids’ sports. Gradually I also started using it for landscape photography and the more I used it, the more I reached for it. This lens lives on my Nikon Z6 most of the time and many of my favorite landscapes are captured with this combo. I love the way I can zoom into far off details and isolate small scenes that capture my eye. It is definitely my go to lens for photographing intimate landscapes and I used it to capture many of my favorite images this year.
Light & clouds over the Tetons with the Sigma 150-600
Distant road in the Great Smoky Mountains at 600mm with the Sigma 150-600
2) Peak Design Carbon Fiber Travel Tripod - I received this tripod in the spring of this past year and I absolutely love it! I have used many tripods in my years of shooting landscapes and I have to say that this is one is my favorite for its size and ease of use. This tripod is light and compact for travel and hiking. The flip legs are simple to open and close for quick and easy set up or adjustment. It is sturdy for my heavy Nikon D850 and large lens. Putting the camera on this tripod head is the absolute easiest I have experienced. Additionally, adjusting the camera on this head is smooth and simple. This makes all set up and shooting easier but especially in low light and night. As a lover of long exposure photography, a sturdy tripod is essential to my work.
Long Exposure at Colter Bay, Grand Teton National Park with the Peak Design Travel Tripod
3) L Bracket - I have L Brackets on all my camera bodies and it is a true game changer. This makes shooting horizontally and vertically simple and no need to get multiple tripod plates for more than one camera either. I can’t believe I didn’t install these on my camera bodies earlier in my career. It has been so helpful in allowing me to capture vertical long exposures. (Note: The Kirk L Bracket is the one I have on both my Nikon D850 and Z6 but there are other brands you can explore)
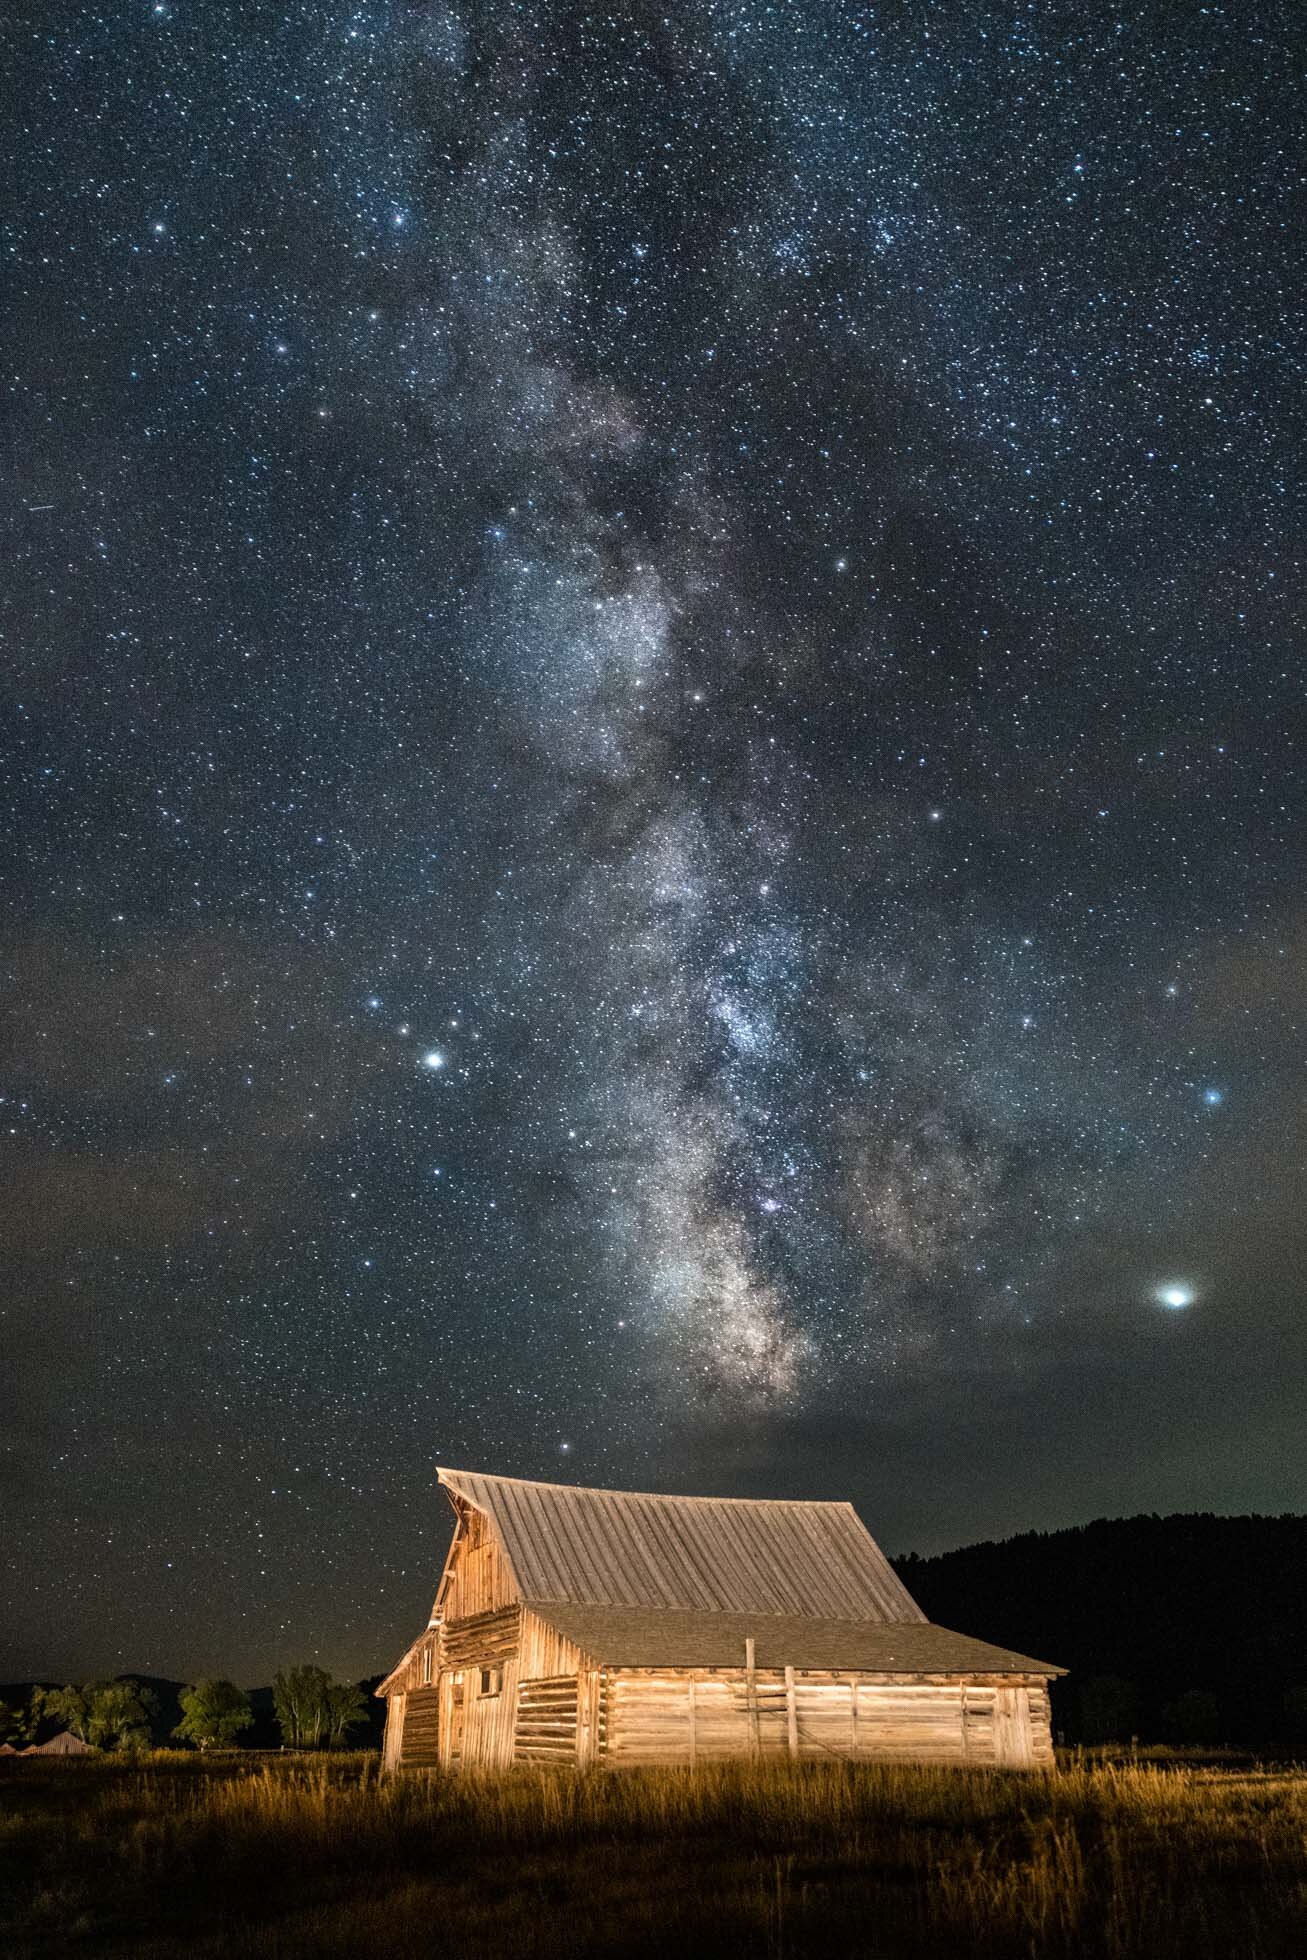
Vertical Milky Way capture over Moulton Barn in Grand Teton National park with my L Bracket
4) Zojirushi Thermos - While not photography gear, this thermos is a go-to for me in all my photography outings. It will keep my coffee hot for hours as I head out for sunrise. While they come in multiple sizes, the 20 oz thermos is perfect to keep me going for a long time. One of the best things about this thermos is the lock on the top. When it is locked, there is absolutely no leak which makes it perfect when I am carrying it with my camera gear or in a carryon with my laptop when I travel. (Just make sure the parts of the top are intact as if they are not, then it does leak!) Sometimes I even have two of these with me - one with coffee and one with ice water as it will keep your ice intact for a crazy long time as well! Each member of my family has one of these for our travels & hiking adventures. (Note: Link takes you to red thermos but various colors are available)
5) Breakthrough Photography Filters - Whether a polarizer or neutral density filter, Breakthrough Photography is my go to brand for my filters. I always carry a polarizer, 6 stop ND filter, 10 stop ND filter and 15 stop ND filter in my bag. I also love the X4 Dark Circular Polarizer for photographing waterfalls and other water scenes. When photographing water and clouds, my favorite thing is to shoot long exposures of various lengths and these filters make it possible. (Note: Link here is my affiliate link. If you choose to use it to order, thank you!)
Long exposure using a Breakthrough Photography 6 stop ND filter to smooth the water just a little
6) Heat Company Gloves - These gloves save my fingers when I am shooting in the cold winter weather. In truth, they make it possible for me to shoot in the frigid temperatures. I purchased these before my winter trip to the Tetons in 2016 and I discovered I could shoot for hours without my fingers getting frozen and numb as they always had before. These have thin tight linings for your fingers so you can easily maneuver your camera and then have a warm insulated mitten to cover your fingers. There is even a pocket to put hand warmers in. These are absolutely worth the investment if you want to capture those beautiful winter landscapes without frigid fingers. (Note: link goes to just one of various sizes on B&H photo’s website. Various sizes available)
Misty sunrise at Vermilion Lakes in Banff National Park in negative temperatures. Thank good for my Heat Company gloves.
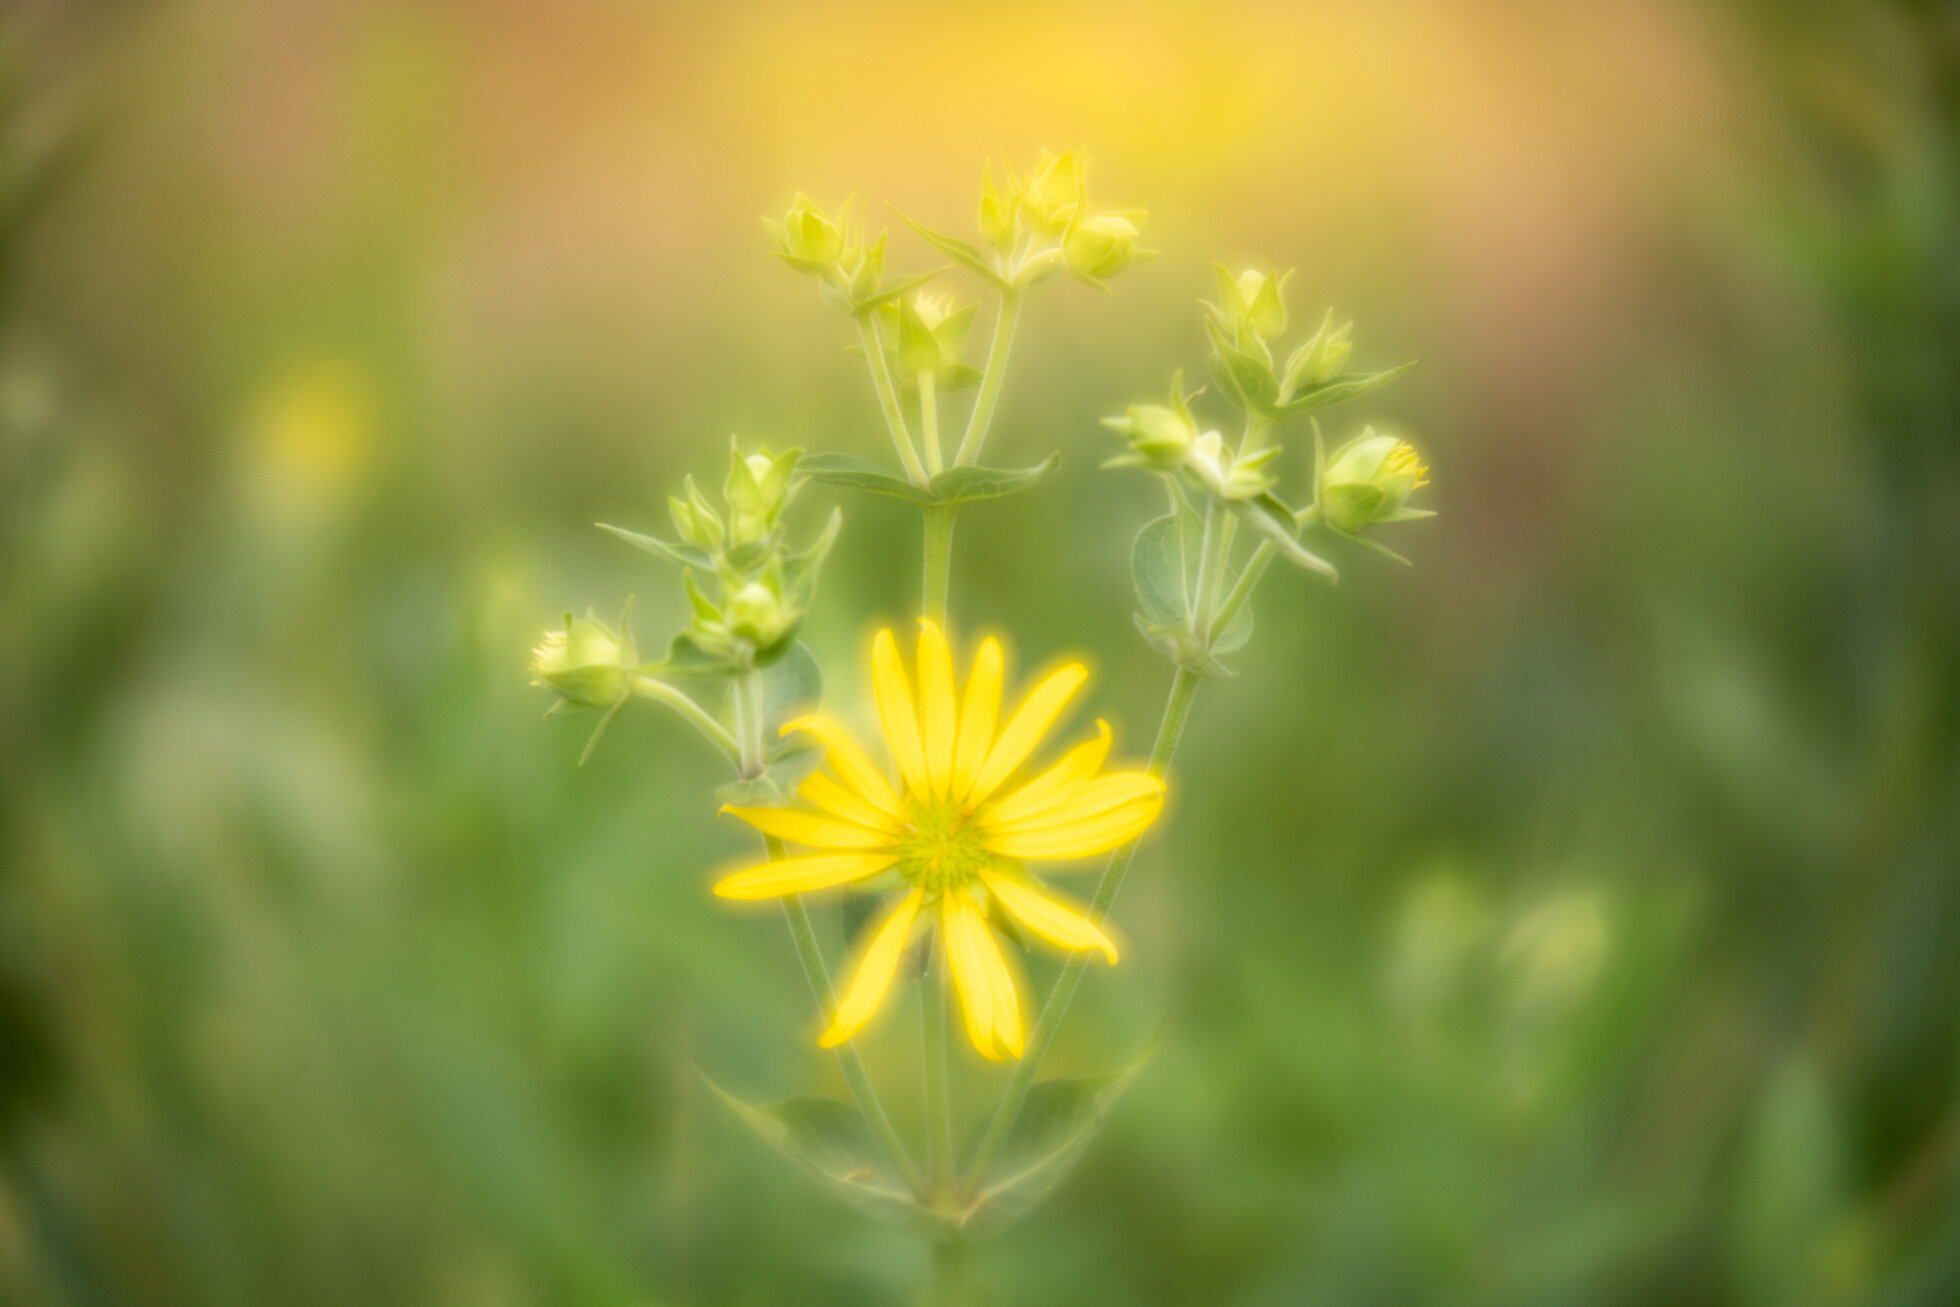
7) Lensbaby Velvet 56 - My Lensbaby Velvet 56 is a go to lens for me when shooting macro and small scenes. I love the creative blur and dreaminess it creates. It always leaves me feeling inspired and it sparks my creativity. When I shoot with this lens I am drawn into how I feel rather than worrying about technical execution. I also love this lens for seascapes and forest scenes.
A flower by my pond with the Lensbaby Velvet 56
A gorgeous Turks & Caicos beach with the Lensbaby Velvet 56
8) Icebreaker Merino Wool Hoodie - As I began to do more winter shooting, I started looking for some nice warm clothing to layer under my puffy winter coat. I came across this hoodie and fell in love. It is so versatile. It is perfect to put over a base layer and thin enough to wear it under a fleece and outer winter coat. It is quite warm on its on as well and I love to wear it as an outer layer on a temperate spring or fall day. The pockets are zippered making it easy to stash keys or a phone in a pocket without worry of losing them. (Note: my first hoodie was the original Quantum hoodie though they seem to be harder to find now and this is the new one I just ordered. It’s not cheap but I love it that much!)
Thanks for reading! If you have any questions about my favorite things, don’t hesitate to reach out! Happy Shooting!
Kristen Ryan is an award winning and published landscape and fine art photographer and educator residing in the Midwest suburbs of Chicago. All images are available for purchase in the Fine Art Store or by request. Kristen leads ladies landscape photography retreats in the Tetons, Chicago, and the Canadian Rockies, offers private mentoring and teaches an online landscape photography workshop, The World Around You.
Best Lenses for Landscape Photography
Are you wondering what lens is the best choice for landscape photography? I often get asked by my online students and retreat attendees what lens is best for landscape photography and which lens is my favorite. The simple answer is that my favorite lens/focal length is the one that best captures my vision of the image I am seeing in the moment.
The more in depth answer is that there really isn’t a SINGLE best lens for landscapes. It depends very much on the particular location. Sometimes you may need an ultra wide angle to get the entire scene in the frame or the sky is so amazing you want to include as much of it as you can. Other times, you want to hone in on a smaller portion of the scene; just the part that is grabbing your eye. And sometimes you really need reach to grab detail that you cannot get with anything other than a telephoto.
So, what’s the best lens? There isn’t ONE. However, I will give you some thoughts and examples of the several lenses I use and then you can see how these lenses would help you in the areas you photograph.
First off though….zoom or primes? Prime lenses are sharp and fast and will capture high quality images. However, as a photographer with a landscape focus, I am partial to zoom lenses in most circumstances. The reason being that it is not as easy to just ‘move your feet’ to get a different angle in most cases. I often need to zoom ‘out’ or zoom ‘in’ to change the frame. This also allows me to set up on a tripod and get various compositions from one location.
Ultra wide angle
I shoot with both the Nikon 14-24mm, the Nikon 16-35mm, and the Sigma 14mm f/1.8. I also have a 16-35mm for my Sony a7rii. All are fantastic lenses and I know from friends that the Canon 16-35mm f/2.8 is also an amazing lens.
These focal lengths will allow you to really showcase the expanse of the world. Imagine an endless sky, spanning view of mountains, or endless stars at night. The ultra wide angle is your best friend in these situations. If you love sunbursts, a wide angle lens will also give you the most amazing sunbursts!
The ultra wide angle is often my favorite. I love taking in the wide expanse of the world and very often, only the widest angles will truly capture that magic.
16mm was necessary to capture this wide scene of the Chicago Skyline to include the golden morning sunlight shining in from the left.
14mm is my favorite focal length for capturing the night sky. The ultra wide focal length captures the vast sky of stars in addition to the foreground scenery.
16mm captures the entire sunset scene in the Tetons, including a vivid and distinct sunburst.
16mm allowed me to include significant foreground and ocean in addition to the beautiful sunrise sky.
But, I could not capture the variety that I do with only these widest angles.
Mid Range
I love my Nikon f24-70 f/2.8. If you could only buy or travel with ONE lens, I’d probably say to choose a 24-70 or 24-105 (which I don’t own but there are some great lenses out there in this focal length range)
The 24-70 (or 24-105) gives you a nice wide angle in the 24-35mm range but also allows you to zoom in a bit and grab some closer details. If I am hiking, for example, and want to only carry a camera without extra gear, this is often the lens I will grab. It is so versatile. This mid range gives you a very realistic view of the world’s scenery.
Some examples in this focal range.
48mm focused this frame between the trees. A wider focal length would have added distraction outside of the framed focal point of the waves.
60mm brings me closer to Mt. Moran in this sunrise scene and creating nice symmetry between the mountains and their reflection.
70mm captures the birds and sun rays as the clear main subject of the frame while including the environment around them.
70mm brings the frame closer to the mountains and makes them a more prominent part of the frame than a wide angle
Telephoto
I own both the Nikon 70-200mm and the Sigma 150-600mm. I bought the Sigma more for wildlife and sports, but I also use it for some detailed landscapes.
Focal lengths in the 100+ range allow you to capture details of the landscape that you cannot get close enough to with the wider angles. Such as zooming in on a single mountain in a range, shooting across a body of water, or isolating certain details in a scene.
200mm
The week after Halloween, we got our first big snow. It just so happened I had just been out to the Arboretum the prior week photographing peak fall color. So after the snowfall, I drove through and spotted this incredible scene of seasons colliding. 200mm with my 70-200mm lens allowed me to highlight the detail of these two trees next to each other by filling the frame with the contrast of fall color and snowy branches.
175mm
I used my 70-20mm at 175mm here to isolate the crashing waves in the ocean of the coast of Oahu.
150mm
As the sunset’s golden light hit the Grand Teton, I captured this at 150mm to isolate the light on the Grand complimented by the colorful autumn foliage in the foreground.
550mm
While capturing the sunrise at Oxbow Bend, I noticed the way the light was hitting this beautiful golden tree across the water. I put on my Sigma 150-600mm to isolate the tree against the background of low clouds.
As you can see from the examples above, the best lens & focal length is the one that best captures the beauty speaking to you in that moment. Sometimes it is a wide angle, but other times you need a long focal length to isolate the beauty in the distance.
Hope these examples and thoughts help you to capture all the beauty in front of you at home and in your travels.
Kristen Ryan is a landscape and fine art photographer residing in the Midwest suburbs of Chicago. All images can be purchased in the Fine Art Store. Kristen leads ladies landscape photography retreats in the Tetons, Chicago, and the Canadian Rockies, offers private mentoring and teaches an online landscape photography workshop twice a year.
