Welcome to my blog! Thank you for clicking into my little corner of the online world where I share my landscape passion through my images and tips for other landscape photographers! Sign up for my newsletter and get your free ebook with 25 Tips for Impactful Landscape Photography.
Links to Check Out!
Listen to my conversation with Brenda Patrella on the Outdoor Photography Podcast from October 4, 2022
Check out my podcast episode over on InFocus Women - with Sarina Jackson and Steph Vella
Listen to my conversation with Allison Jacobs on “The Creative Frame” podcast.
Read Kristen’s article, “The Allure of Nature”, in the December, 2020 issue of Outdoor Photographer.
Listen to Kristen & Matt Payne’s conversation on the F Stop Collaborate & Listen podcast aired January 6, 2021.
Kase Magnetic Filters
Shortly before leaving for Spain in late March I received a package with the Kase Magnetic Revolution ND Kit on my doorstep! I had heard great things about these filters and I was so excited to bring these filters along on my trip. Although this trip was family (not photography) focused, I knew I would be capturing the sights and experiences of our trip and hopefully even get out for a couple sunrises or sunsets.
The Revolution Kit is perfect for me as it includes all of the filters that I use in my work. This kit includes a circular polarizer, 3 stop ND filer, 6 stop ND filter, 10 stop ND filter, and the ring for the filters to attach to the lens. All of these come in a compact filter case. An added bonus that I am really excited about is a magnetic front lens cap. This is a great addition because it means I can cover up and protect the filter when I’m taking a break or moving to a new spot. In the past, I have always had to remove the filter to put on a lens cap.
Case and magnetic lens cap
Another thing I love about these filters is that in addition to the written label on the filter ring to distinguish between the filters, they are also color coded, making it so much easier to grab the filter that I want to use. The 3 stop ND filter is Blue, 6 stop is yellow, the 10 stop is red, and the polarizer ring is silver. For someone whose eyesight is diminishing with age, it is extra helpful to have a way to differentiate the filters without having to try to read the fine print, especially in low light! When trying to grab the right filter as the light is quickly fading or changing, being able to easily identify the one I need means that I don’t miss the shot fumbling with gear.
Color coded filters inside the case
Most importantly, in addition to being easy to use, their quality is fantastic. The color is neutral so they don’t add a color cast to my images. Also, with this magnetic set, there is a magnetic inlaid ring hidden inside the lens screw thread to improve and minimize vignetting.
I used the filters singularly and stacked during my trip to Spain and was so happy with the results.
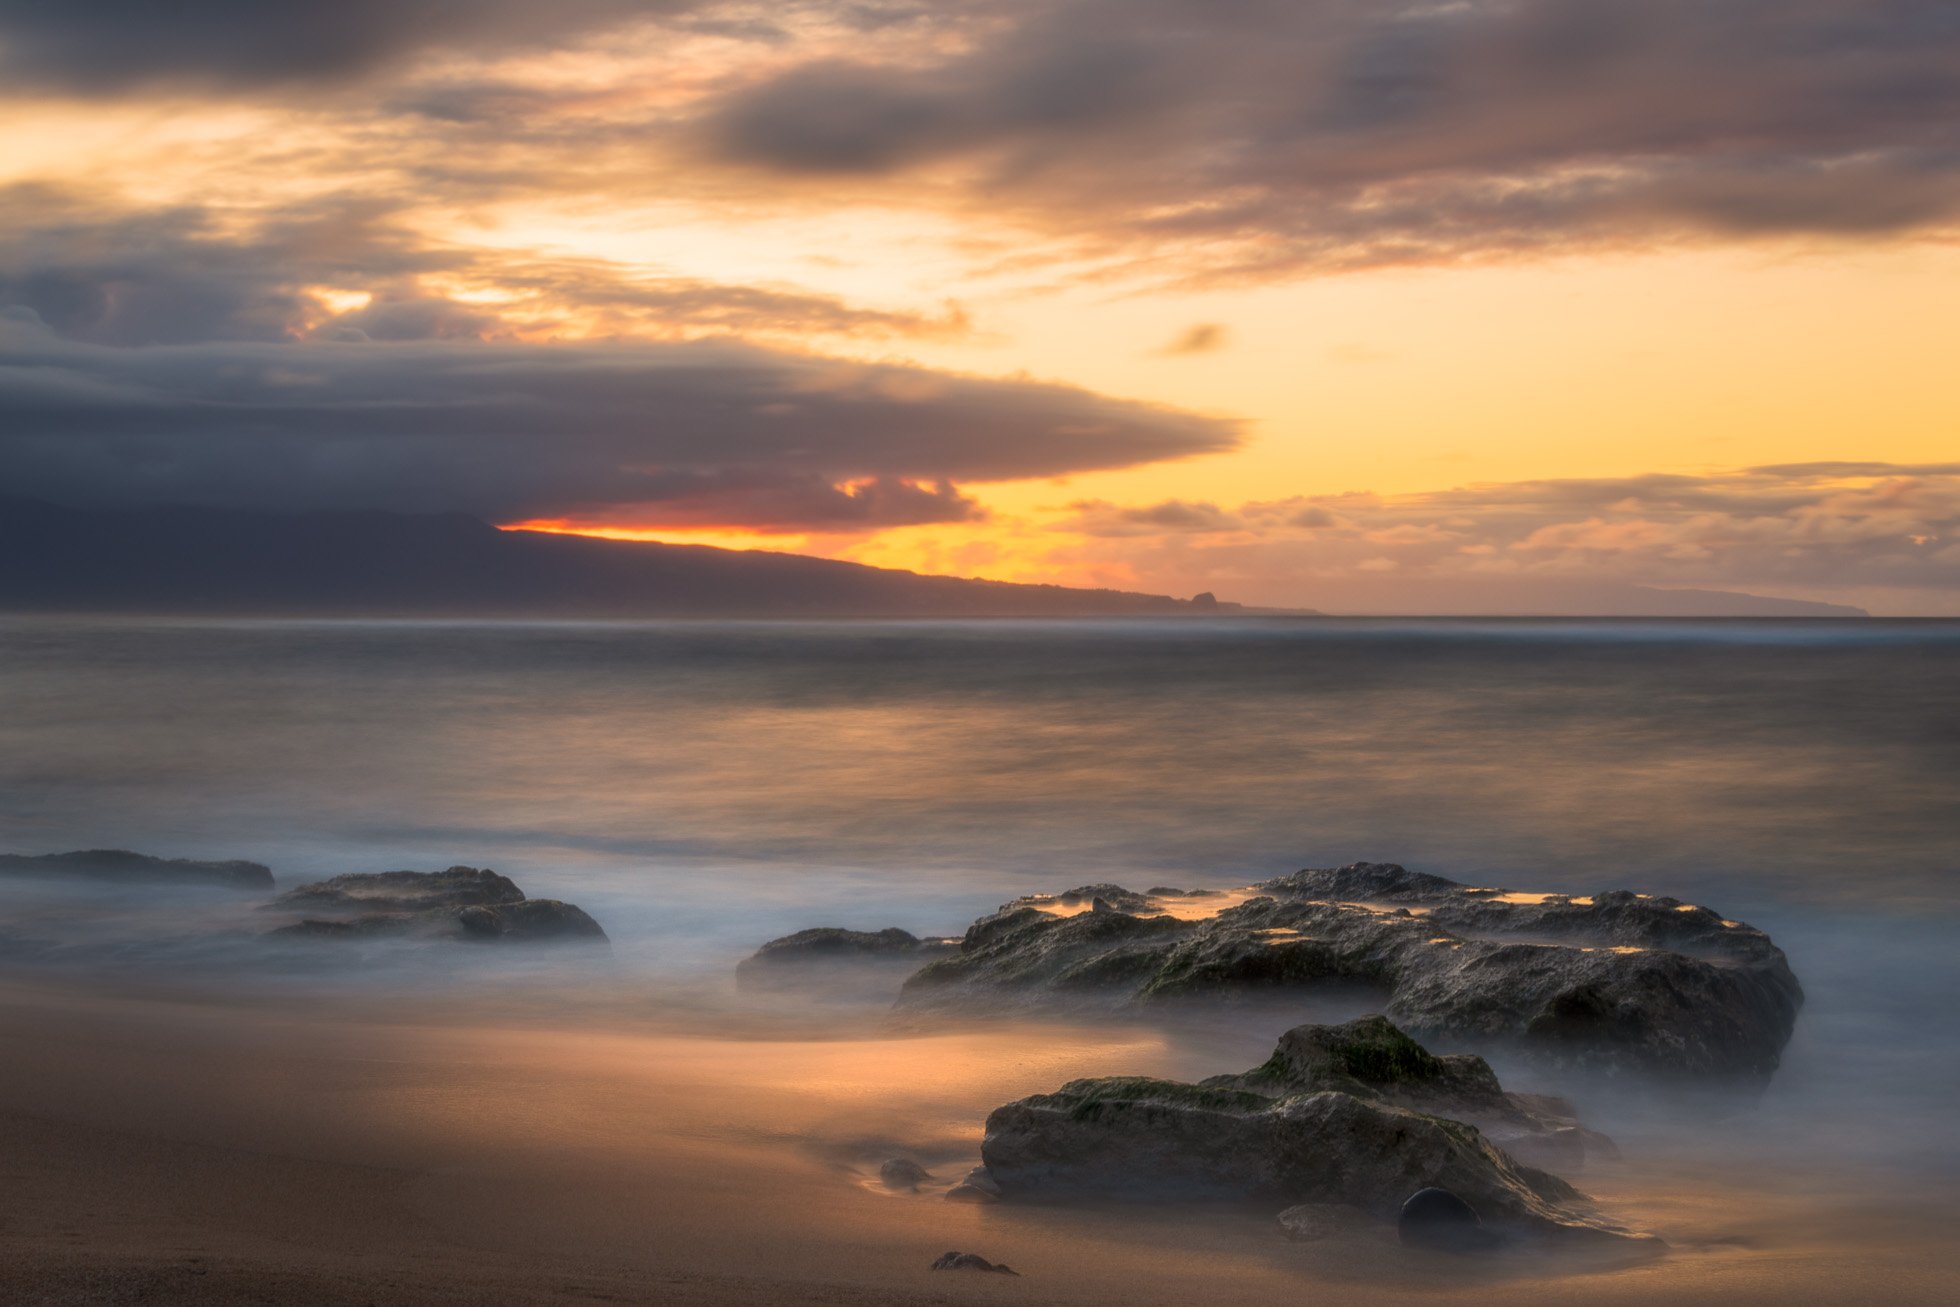
30 seconds with the 10 stop neutral density filter in Malaga, Spain
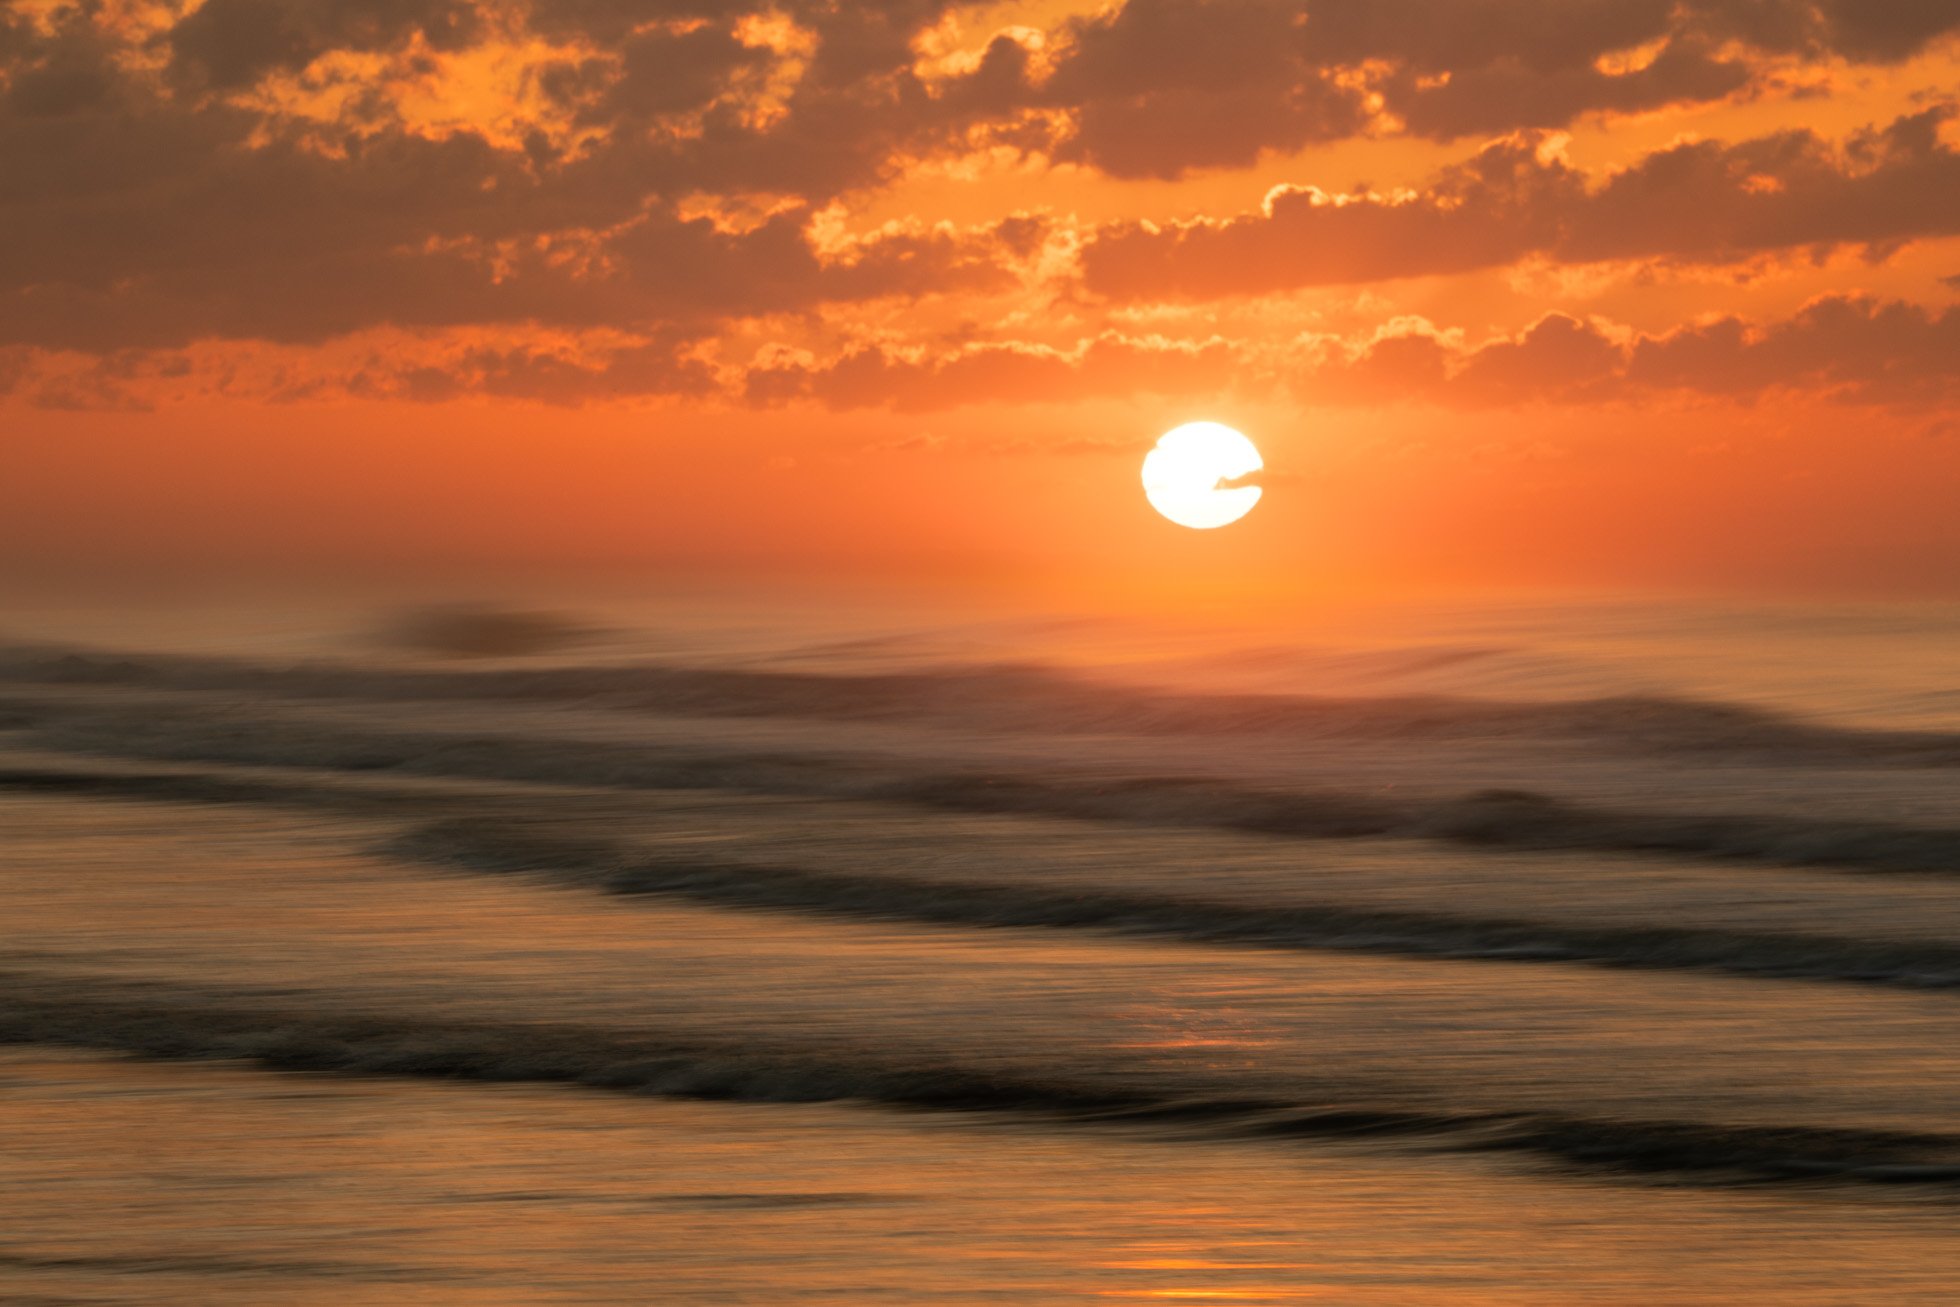
.6 second exposure with the 6 stop Neutral Density filter and using intentional camera movement
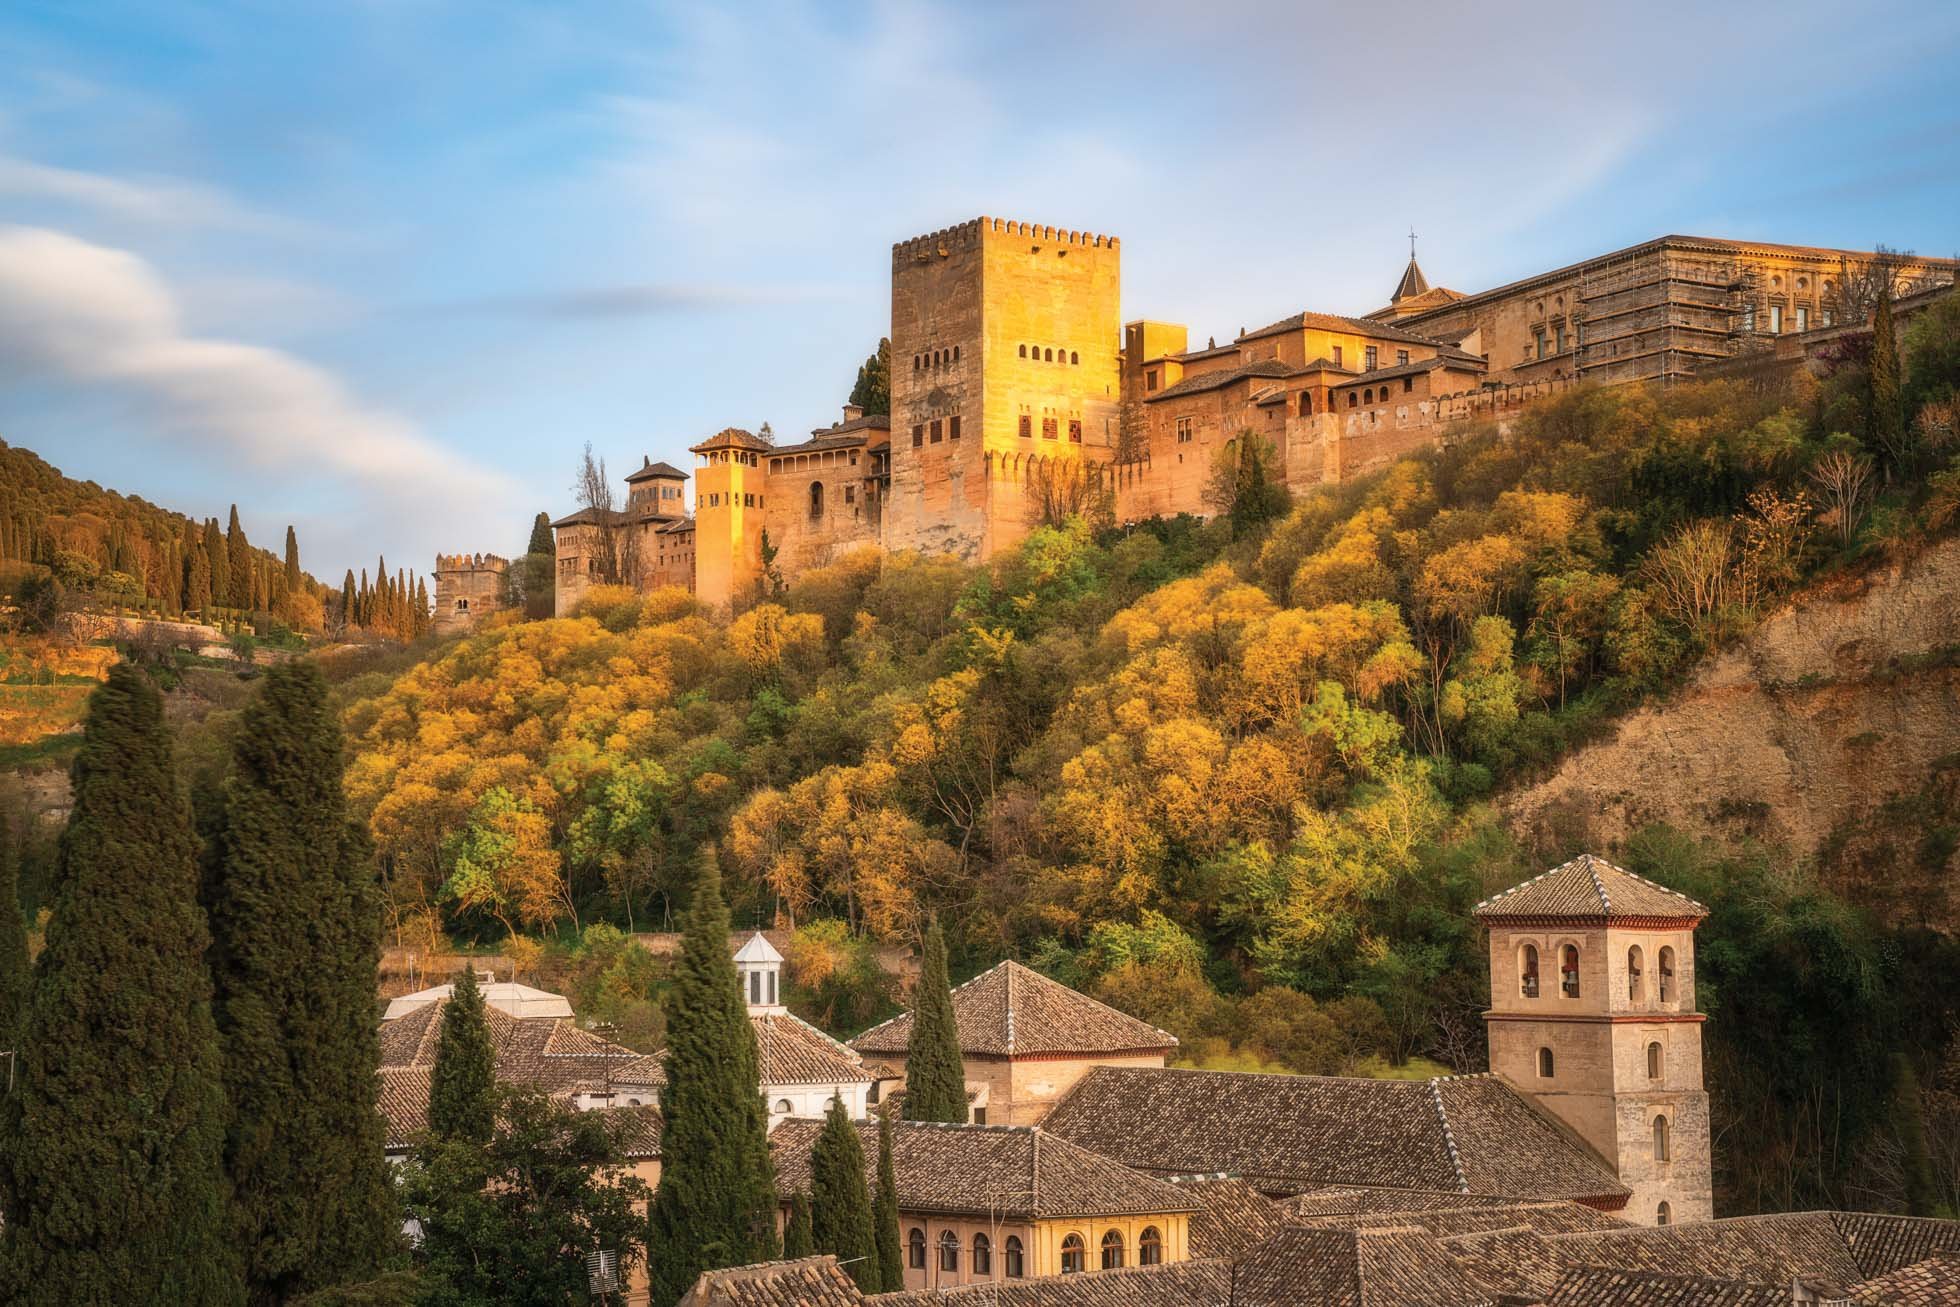
Using the circular polarizer to reduce glare and enhance the colors on this gorgeous sunny day in Ronda, Spain
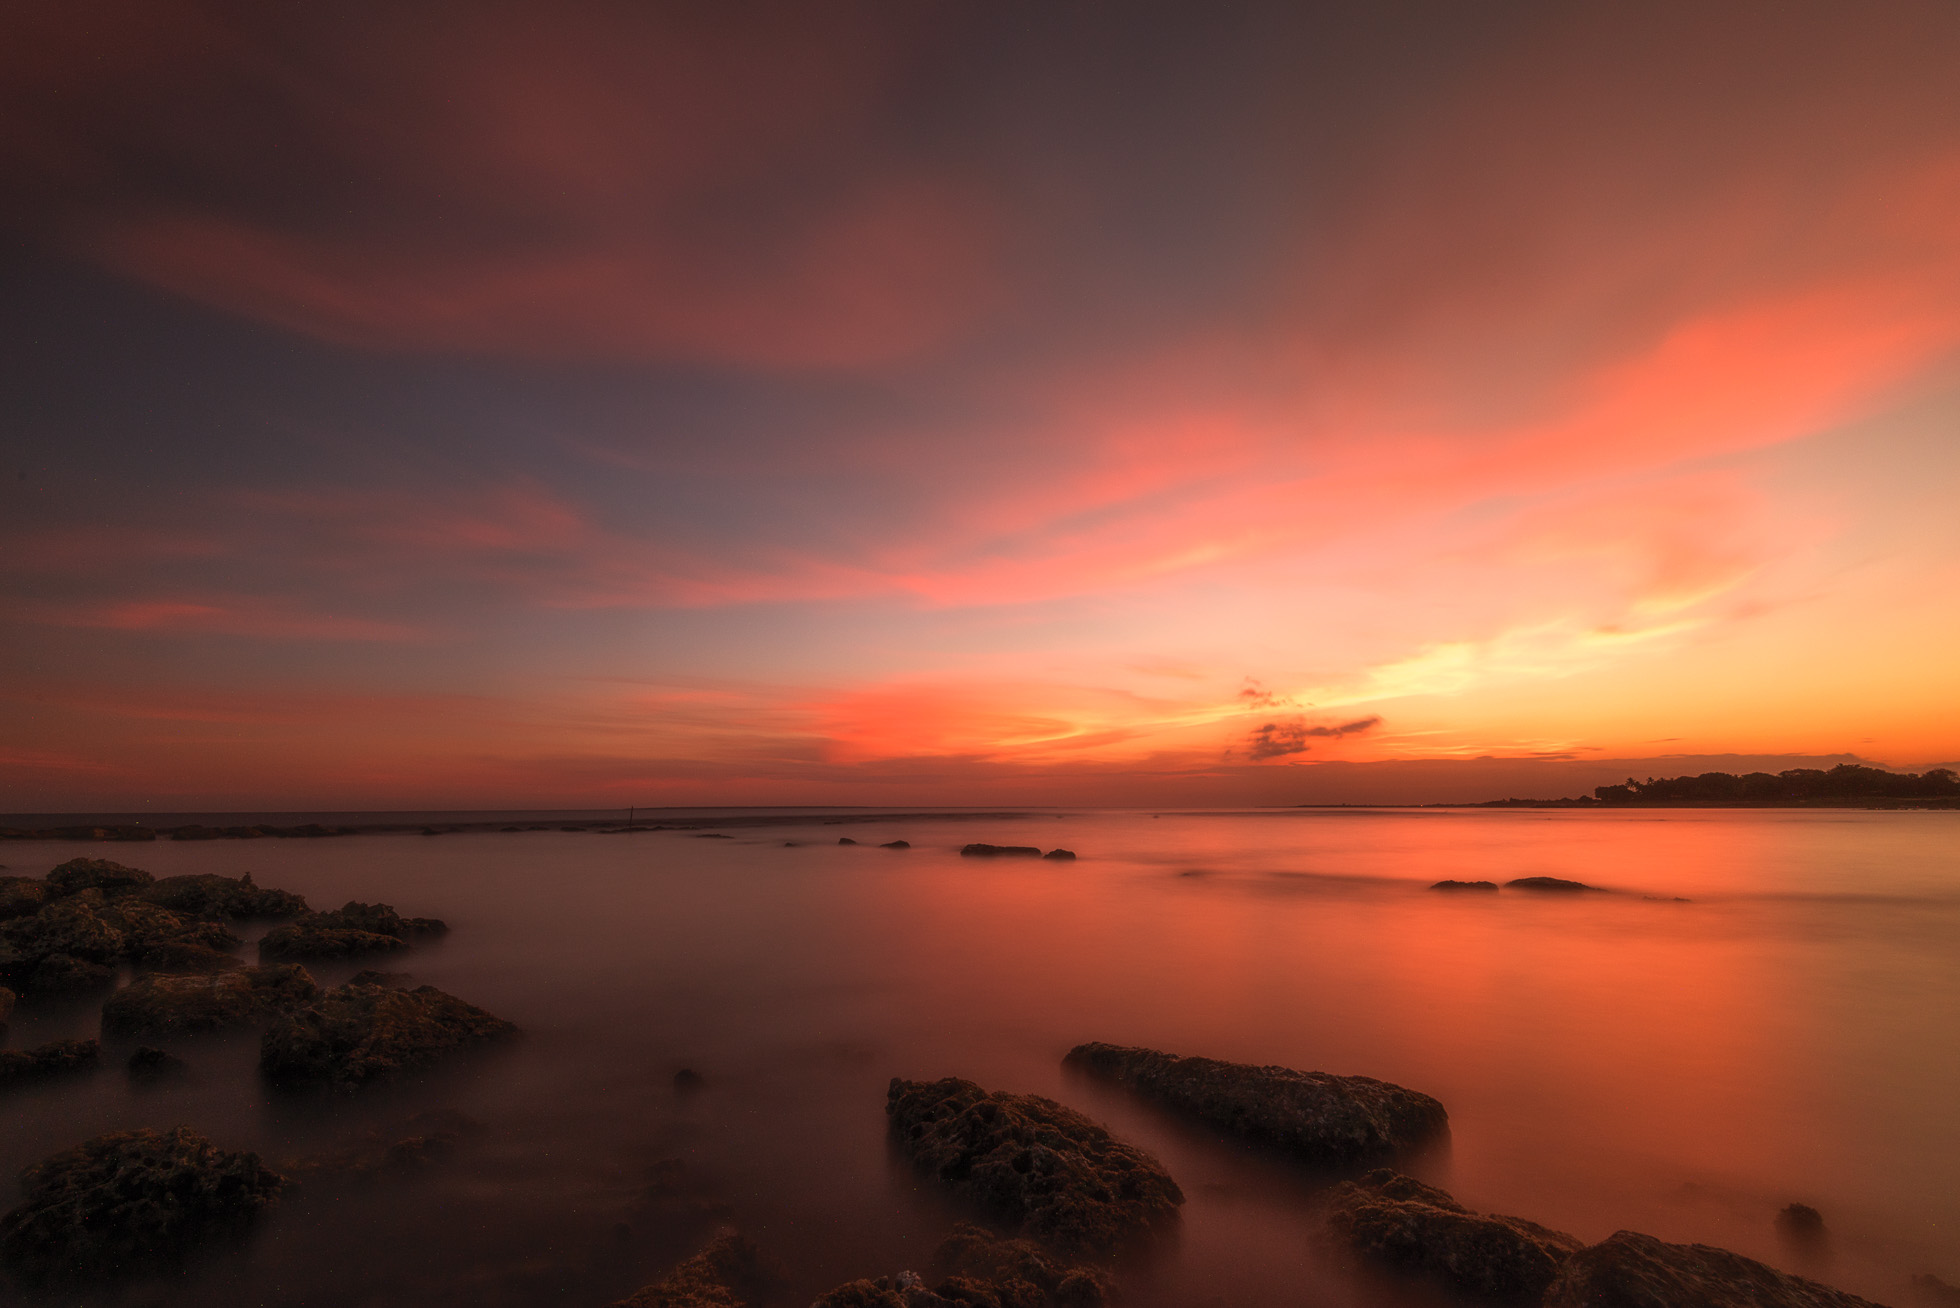
These filters are incredibly easy to stack when you want to use a polarizer and ND filter or to stack more than one ND filter to block more light like in this image below where I stacked the 10 stop and 3 stop neutral density filters to get a 3 minute exposure of these clouds.
After Spain, I traveled to South Carolina in mid April to host my Magic in Hilton Head ladies retreat. This filter kit was a dream to use while on the beaches of Hilton Head Island.
1/2 second exposure with the 6 stop ND filter
1/2 second exposure with the 6 stop ND filter
I cannot recommend this filter set enough. Have questions? Don’t hesitate to reach out to me. I’m happy to share any information I can.
Kristen Ryan is an award winning and published landscape photographer and educator residing in the Midwest suburbs of Chicago. All images are available for purchase in the Fine Art Store or by request. Kristen leads ladies landscape photography retreats in the Tetons, Glacier NP, Hilton Head, Chicago, and the Canadian Rockies, offers private mentoring .
4 Ways To Use Shutter Speed For Creative Seascapes
There is something truly magical about the ocean! The movement and sound of the waves crashing along the shore is mesmerizing. The ocean is one of my favorite subjects to photograph because getting creative with shutter speed can keep me experimenting for hours.
There are 4 ways I used shutter speed to create different effects with my seascapes!
1) Fast Shutter Speed - Sometimes the texture of the crashing or cresting waves grabs my eye and instead of softening the water, I want to emphasize the texture and power of the ocean by freezing the movement with a fast shutter speed.
1/2000s shutter speed to freeze the motion of the crashing wave. Photographed at 360mm with the Sigma 150-600mm Contemporary Lens.
2. Slow Shutter - One of my favorite shutter speed choices with ocean waves is in the range of .4 seconds to 2 seconds. In this range, the movement of the water is softened somewhat but texture and shape is still evident. With these shutter speeds, the look of the water can change with just small changes in exposure length.
With these shutter speed ranges, a 6 stop ND filter is my go to choice and a tripod is necessary for keeping the camera stable.
1/4 second exposure capturing the movement and texture in the crashing waves
3) Much Longer Exposures - A third creative choice photographing the ocean is to use much longer exposures to smooth out the water completely and create a really soft and dreamy look. Here I am referring to shutter speeds generally of 10 seconds and longer. When we get even longer, with shutter speeds of 30 seconds and more for example, we also get the benefit of getting dreamy movement in the clouds too. When I photograph exposures from 10 to 30 seconds, a 10 stop filter is my go to ND filter. If working in bright daylight hours, more than 10 stops may need to be blocked to get 30 seconds or longer. In these situations, I will use a 15 stop filter or stack filters to extend the time. Be sure to make sure your tripod is stable for these longer exposures. If the water flows up over the legs, it can move just enough to blur the image.
15 second exposure for a dreamy and soft feel in the water
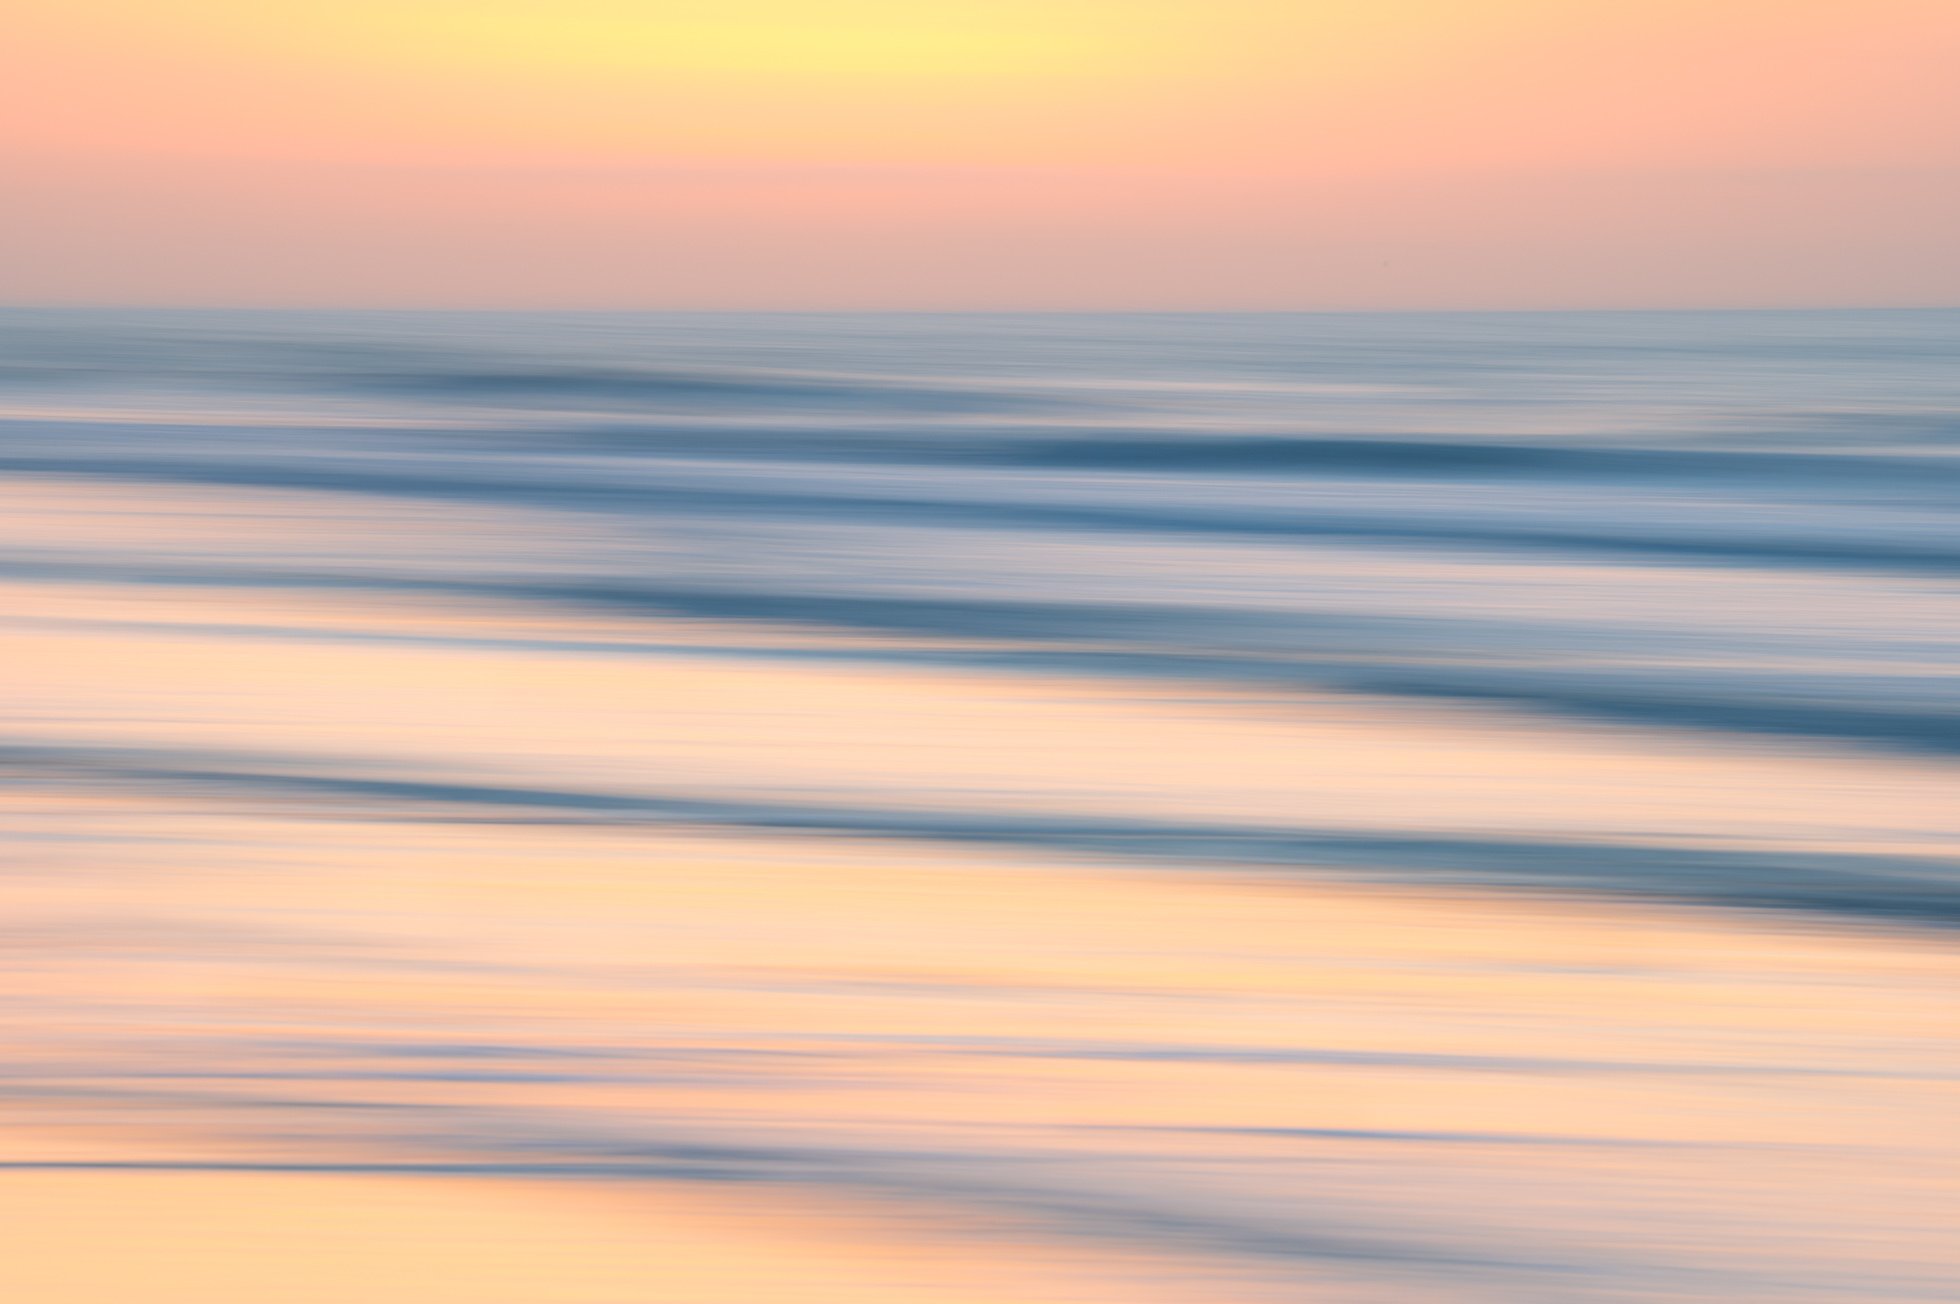
4) Intentional Camera Movement - the fourth way I love to shutter speed creatively is to combine a slower shutter speed with intentional camera movement. This movement creates an abstract and painterly feel to the ocean. My preferred shutter speed range for ICM is .5 seconds to 1 second because it allows me to control if I move fast or slow as well as how much I move the camera over this time period. I generally use a 6 stop ND filter to get my shutter speed in this range. If I am without a filter, it is possible to use intentional camera movement with somewhat faster shutter speeds with success and I don’t hesitate to do so. I simply prefer the .5s to 1 second range . Check out Seascape Panning for more information on using this technique.
1/4 second of intentional camera movement with the Sigma 150-600mm Contemporary Lens at 220mm
Experimenting with all these different ways of photographing the water can keep me busy with the ocean for hours! Can’t wait to get back there again!
Kristen Ryan is an award winning and published landscape photographer and educator residing in the Midwest suburbs of Chicago. All images are available for purchase in the Fine Art Store or by request. Kristen leads ladies landscape photography retreats in the Tetons, Glacier NP, Hilton Head, Chicago, and the Canadian Rockies, offers private mentoring . New online educational materials are coming soon!
The Neutral Density Filter I use to photograph long exposures are from Breakthrough Photography.**
** affiliate link
