


One of my very favorite techniques for adding drama and impact to landscape images is creating a sunburst when the sun is in the frame. Sunbursts introduce added interest to any frame and are especially fun to add in when you have a completely clear sky.
A starburst of the sun happens as a result of diffraction. Light goes into the small opening of a narrow aperture of our camera and is then bent around the edges of the blades. This disperses the light rays into a starburst.

Here are some tips and thoughts to think about as you capture sunbursts in your shooting!
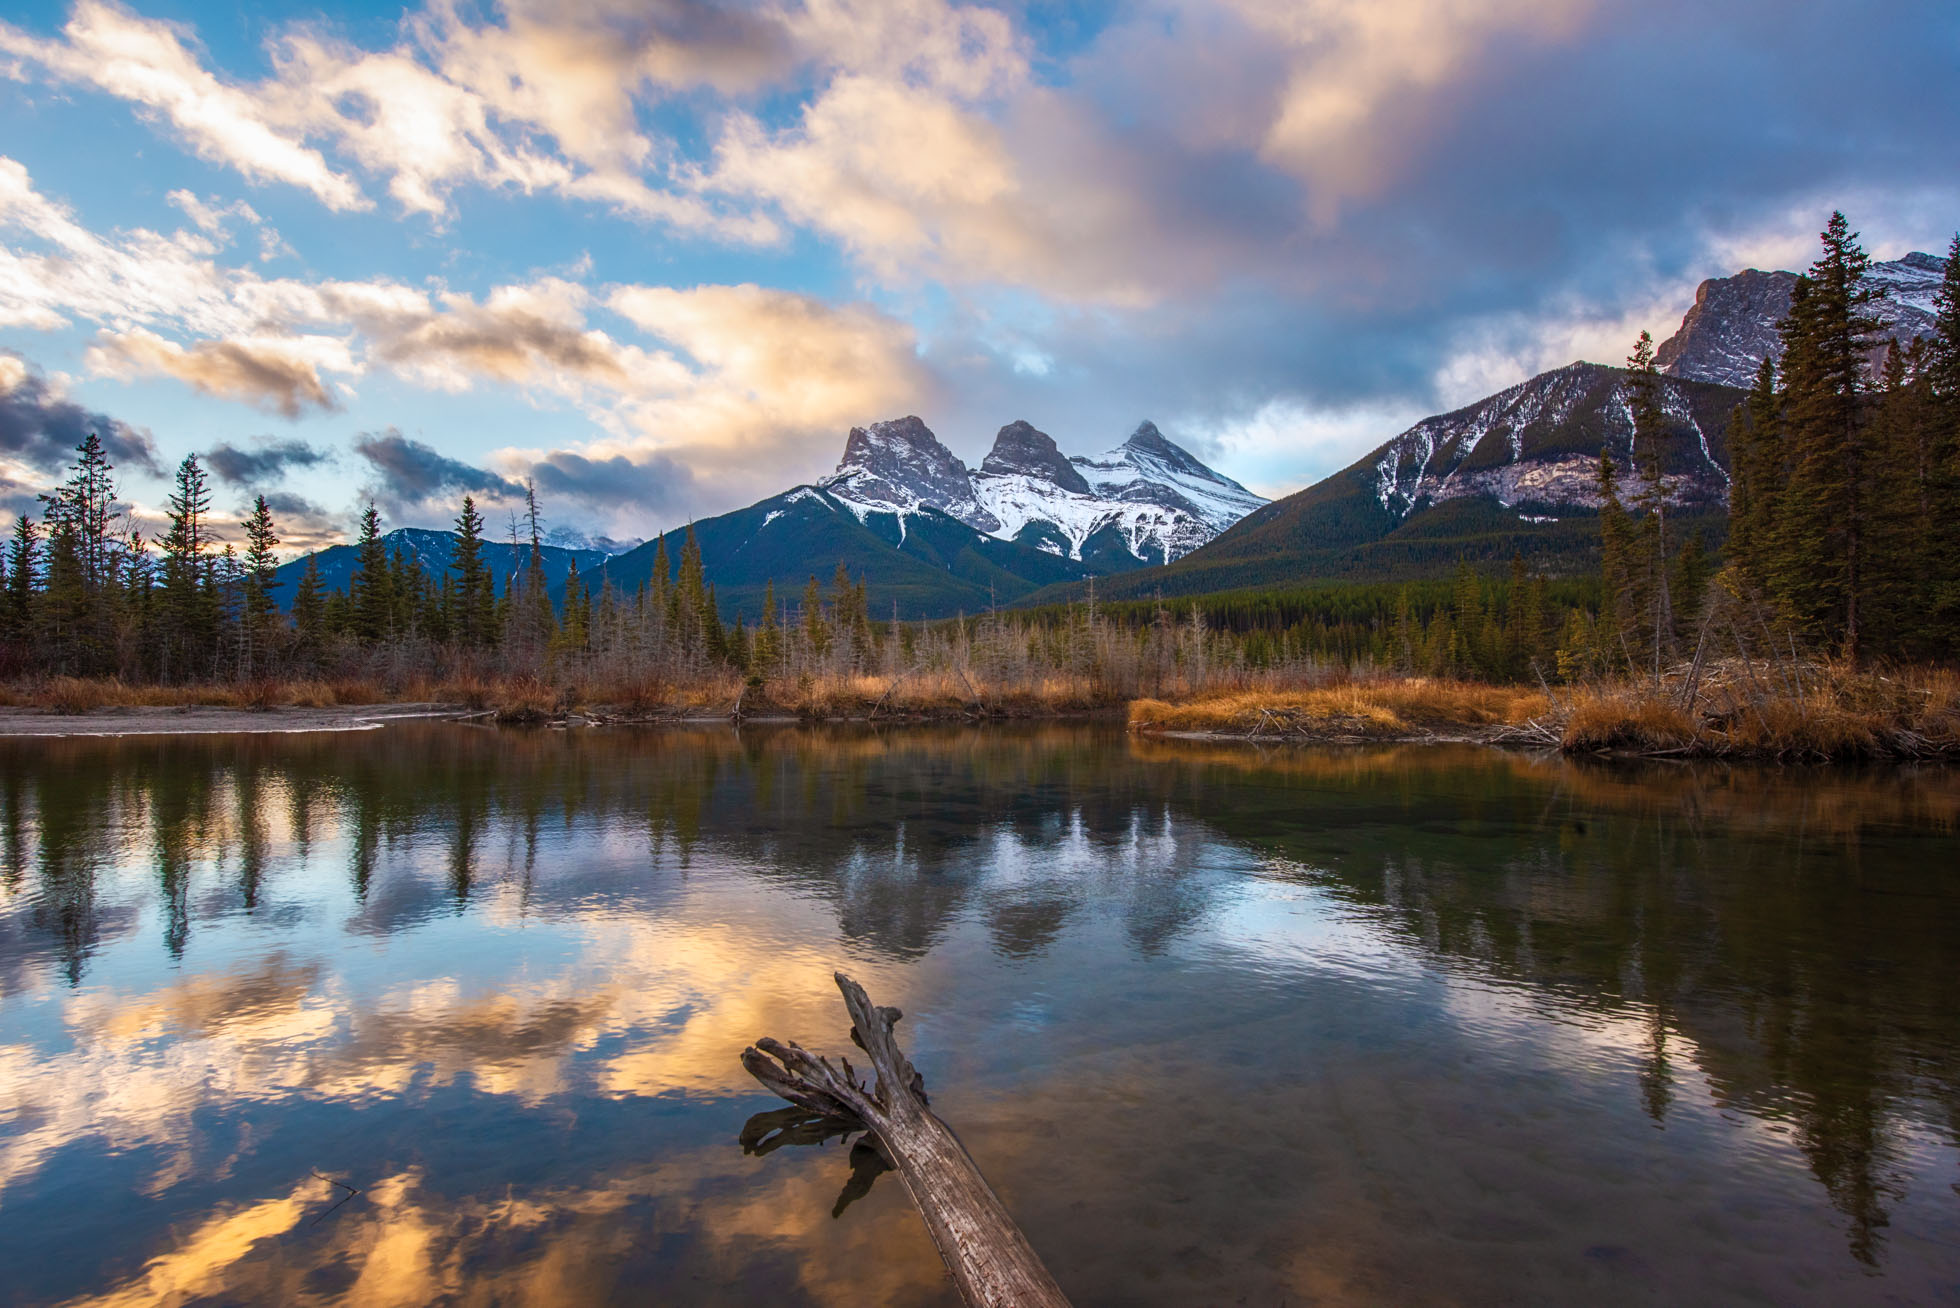
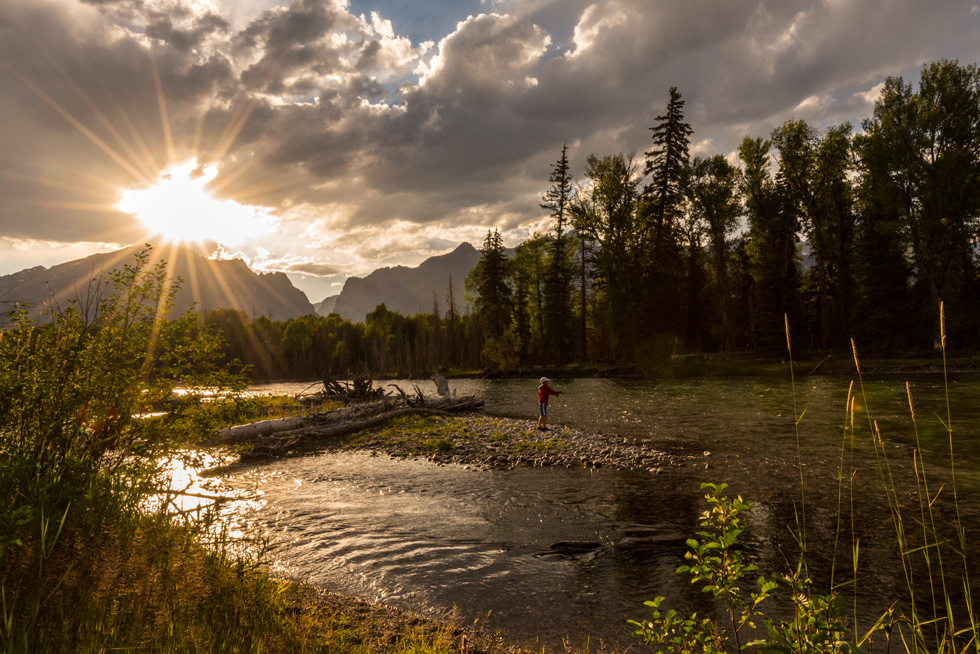
1) Choose A Wide Angle Lens - Wider focal lengths will produce more rays in the starburst so your best bet will be a focal length in the 14-35mm range. This is not to say you cannot capture a sunburst with a longer lens, but the wider angles are ideal. Keep in mind that regardless of focal length, different lenses create different looking sunbursts. For example, my Nikon 14-24mm lens produces a bit of a circular flare starburst at 14mm (image below) which is different from my Nikon 16-35mm lens at 16mm. (image above) Experiment with your lenses and focal lengths to see which one produces your favorite burst!

2) Close Down Your Aperture - Closing down the aperture will produce more distinctive rays in the sunburst. It is possible to get a sunburst with an aperture wider than f/16 but f/16 or f/18 are my top choices for a great sunburst.
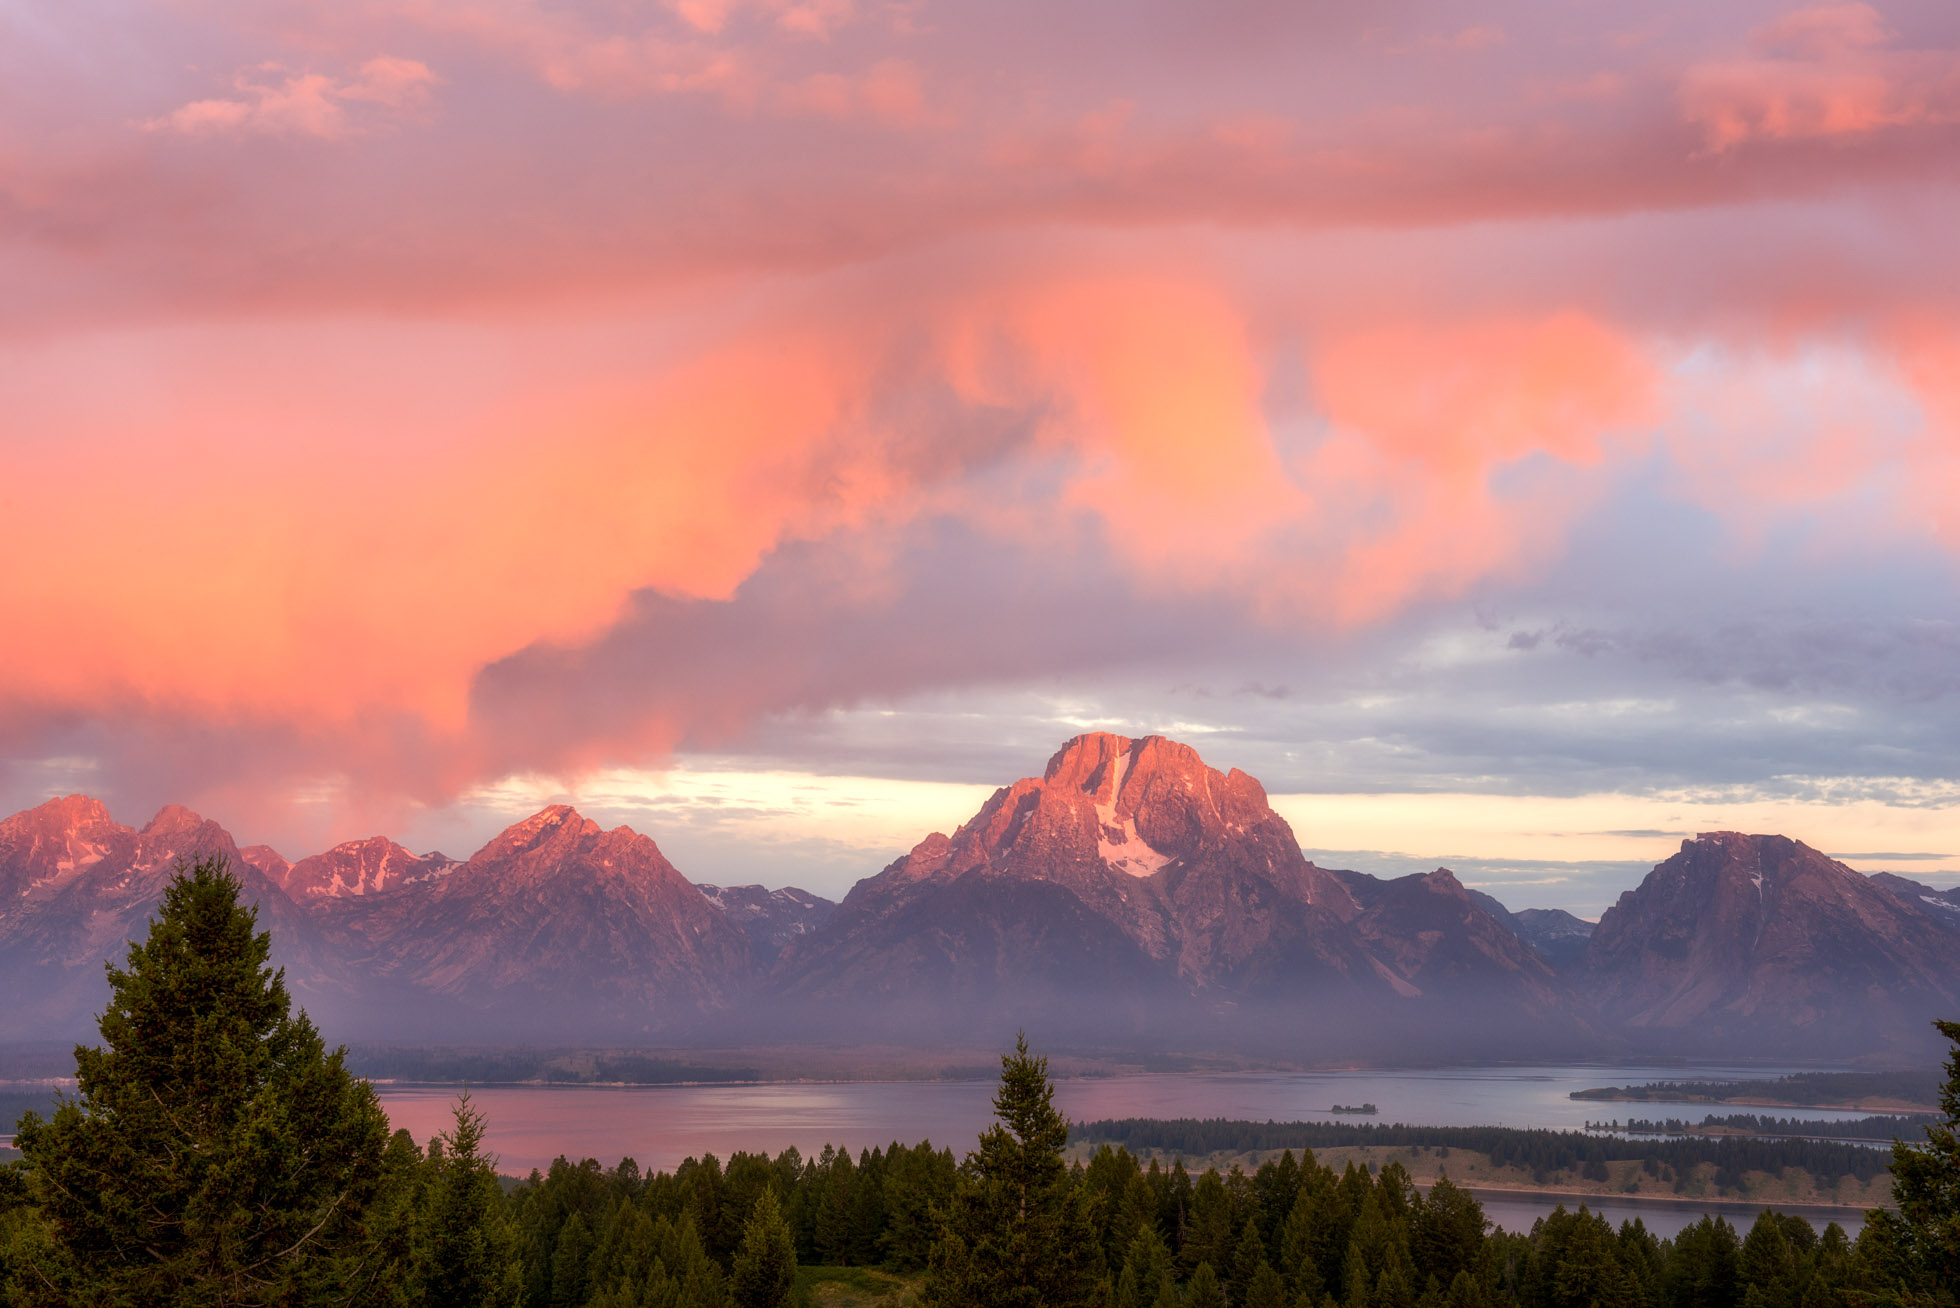
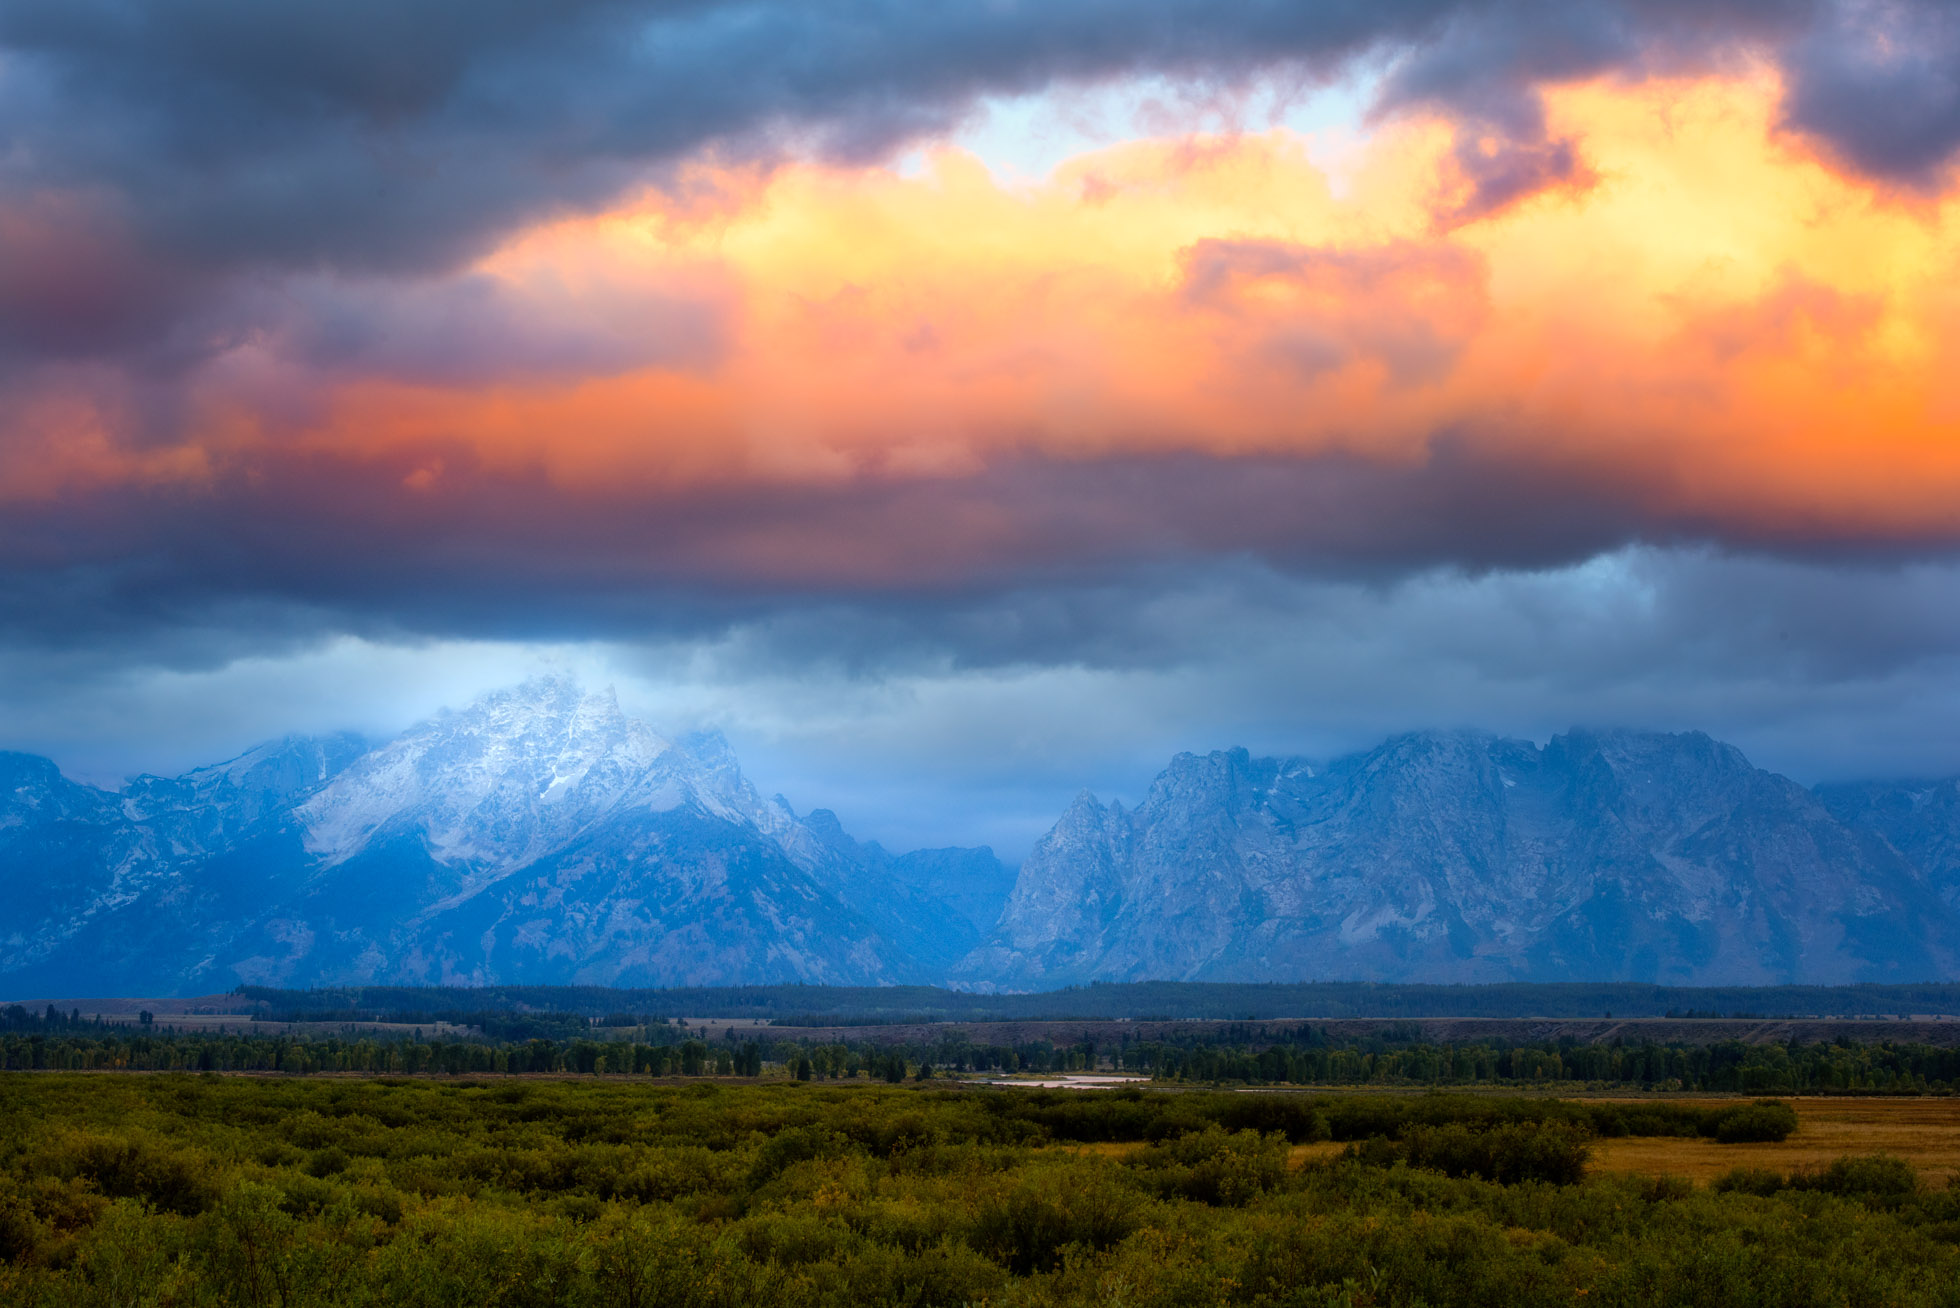
3) Sky Matters - The best conditions for a good sunburst will be a patch of clear sky for a bright and sharp sunburst! Trying to create a starburst through a thin layer of hazy clouds is like banging your head against a wall. When the sky has some thicker clouds amongst clear sky, when the sun hits the clouds, this can create nice potential for a burst of rays into the sky and over the clouds.
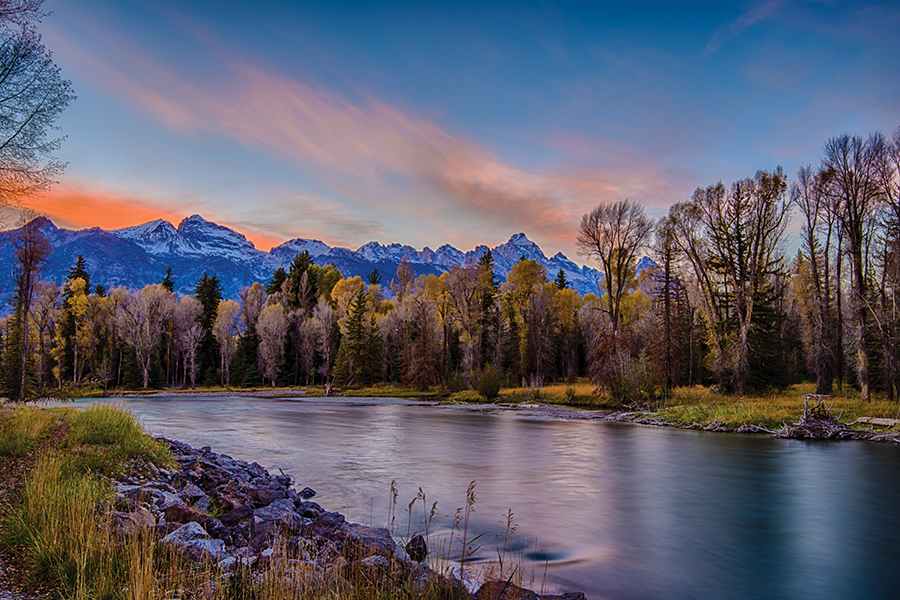
4) Consider the Position of the Sun - When the sun is in the middle of a clear blue sky, a nice sunburst can be achieved. Other times, the best sunbursts are created as the sun hits another object, such as a mountain top, horizon, building, tree, etc. This helps the rays to disperse over the object the sun is hitting. This can require patience waiting for the sun to rise or set to the position desired. And sometimes it can require a little movement on your part to line things up.


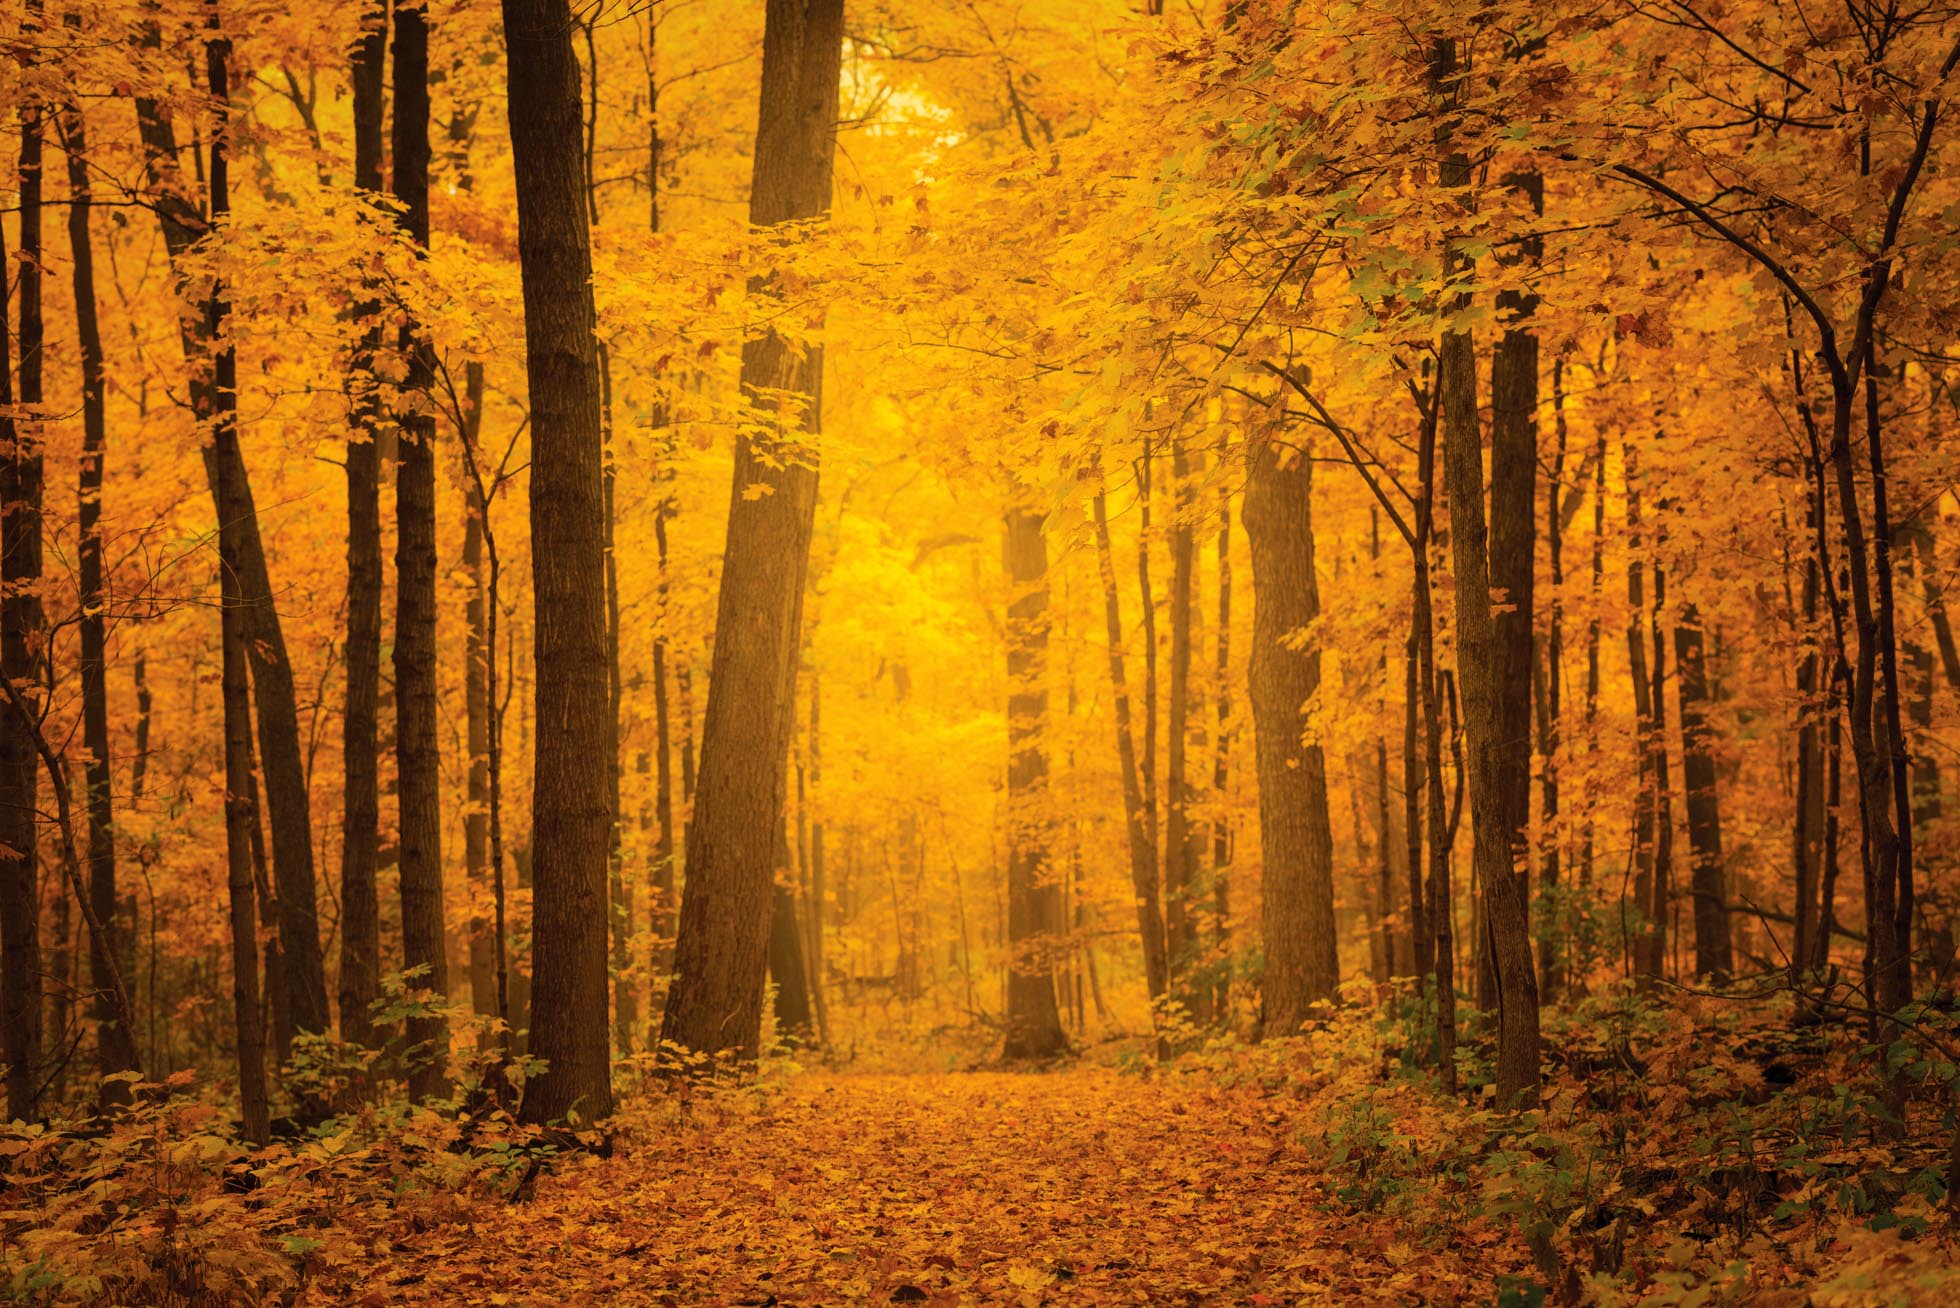
When shooting sunbursts through trees, even slight shifts in position can help create a better or more distinct sunburst.
5) Expose for the Highlights - One of the keys to getting a great sunburst with distinct rays is to be sure that the highlights are well contained. Ideally, it is best to avoid blowing any of the sun highlights except for the circle of the sun. Exposing for the bright sun does mean that the overall image is somewhat underexposed and the shadows will be quite dark.
6) Bracket Exposures - Following #5’s tip for exposing for the highlights to get a great sunburst, consider bracketing your exposures and also taking an image exposed for the shadows and one for the midtones. Then combine them in post processing so you have detail in the full tonal range of the scene. You can bracket manually or program the camera to automatically take several images at different exposures.

7) Consider Your Position - As mentioned in tip #4, both the position of the sun and your position matter for creating a strong sunburst. Another thing that is impacted by your position is additional flare. Shooting into the sun can bring creative and desirable flare but it can also create unwanted and distracting flare. Look for this unwanted flare as you shoot and in your test shots and consider shifting your position. Sometimes minor adjustments in your position can remove unwanted flare or position it better in the frame where it is less distracting or more easily cloned out. A lens hood can also be a useful tool to avoid unwanted flare. Though sometimes nothing avoids it completely.

Kristen Ryan is a landscape and fine art photographer residing in the Midwest suburbs of Chicago. All images can be purchased in the Fine Art Store. Kristen leads ladies landscape photography retreats in the Tetons, Chicago, and the Canadian Rockies, offers private mentoring and teaches an online landscape photography workshop twice a year.